I never had a problem with my Trijicons. I would still be using them if I wasn't setting up the XD for a suppressor. I have learned a few things;
like I didn't know how great I had it with the Trijicons. They (to me) are the perfect geometry for quick combat target acquisition and accuracy
for this gun. I don't think this would be the case in the shorter service model. When installing the sights, know that they are made to a specific size
for a reason; do not file on the dove-tail for any reason or you'll be gluing or punching dimples in them unnecessarily. The only suppressor sights
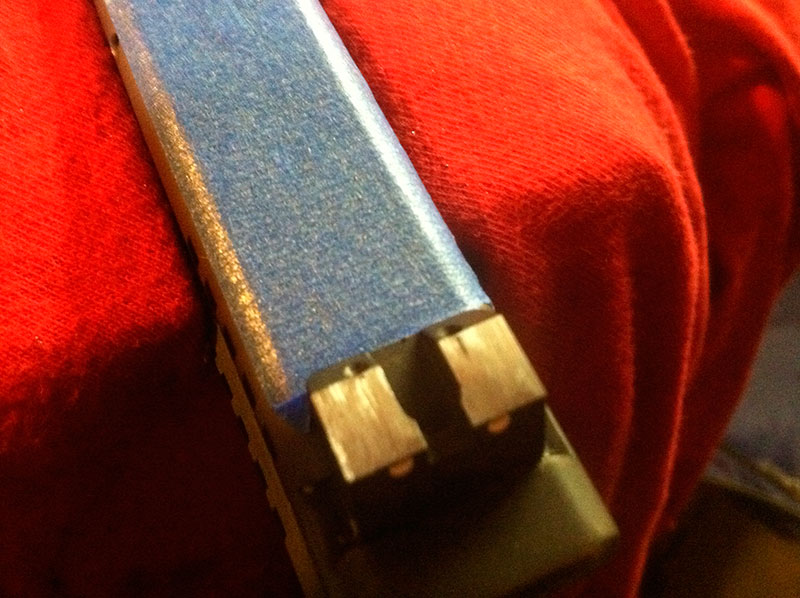
(raised) I could find for the XD45 are from Ameriglo. These sights have great windage geometry,
however they shoot a good 7 inches high from the point of aim at 30 yards. I like my sights to shoot directly at my point of aim (there are arguments both
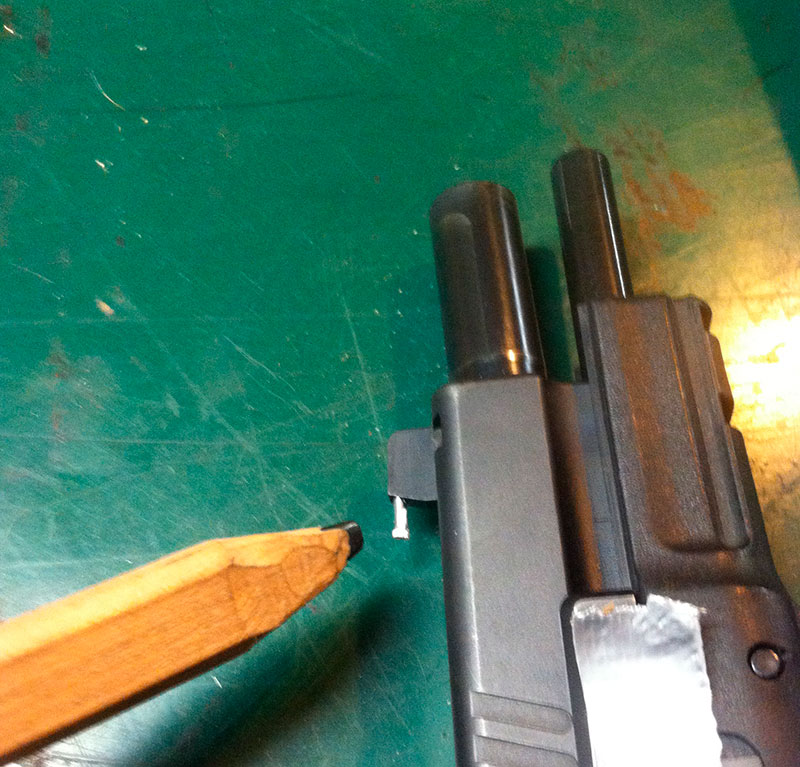
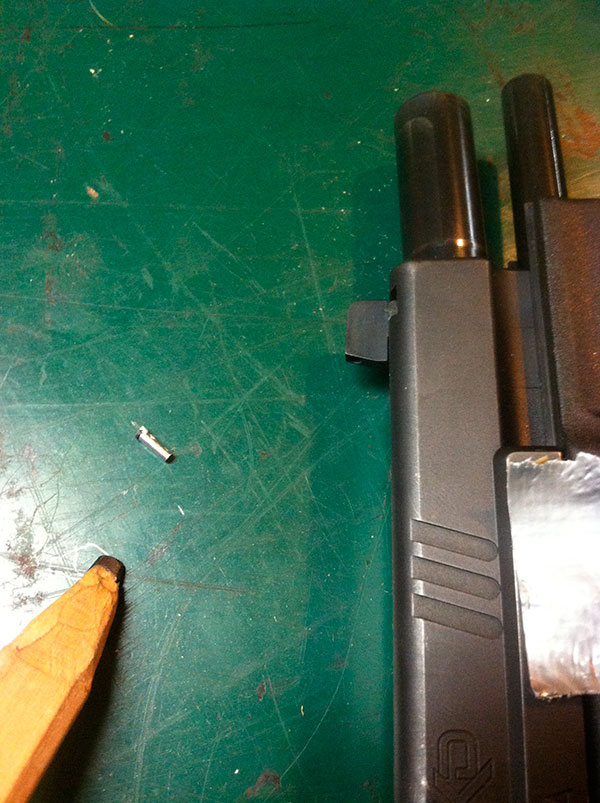
ways on this, but none top the argument, that it is what I prefer). Further, after a USPSA match, I noticed that the front tritium insert had drifted out almost
to the point of dropping out! UNEXCEPTABLE! I sure wish
The math for figuring out your sight height ratio is relatively straight forward. There is a good explanation found here. If I am 90 feet away from my target, and I am shooting 7 inches high, that will be 90*12 (feet to inches) / 7. This gives me 1080"/7" or .006481481" rise every inch of bullet travel. My sight radius (the distance in length from the front of my front sight to the front of my rear sight) is right around 7 inches. Therefore, I multiply 7*.006481481 or .04537037 to get how much I need to take off (from the rear sight), or add (to the front sight) to have the bullet hit dead on where I am aiming.
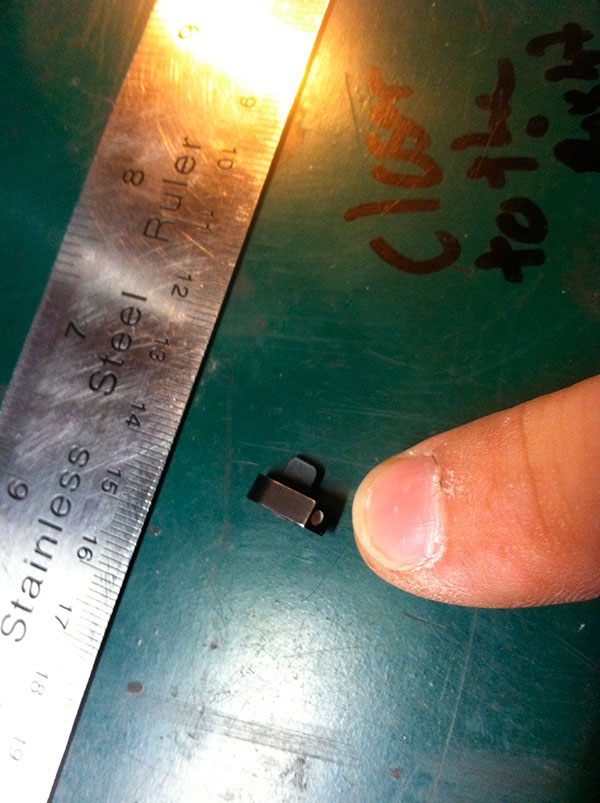
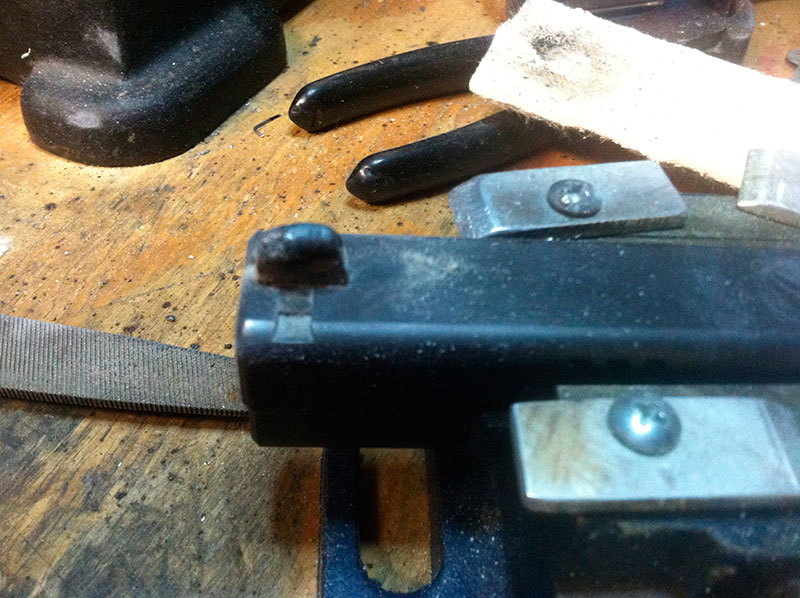
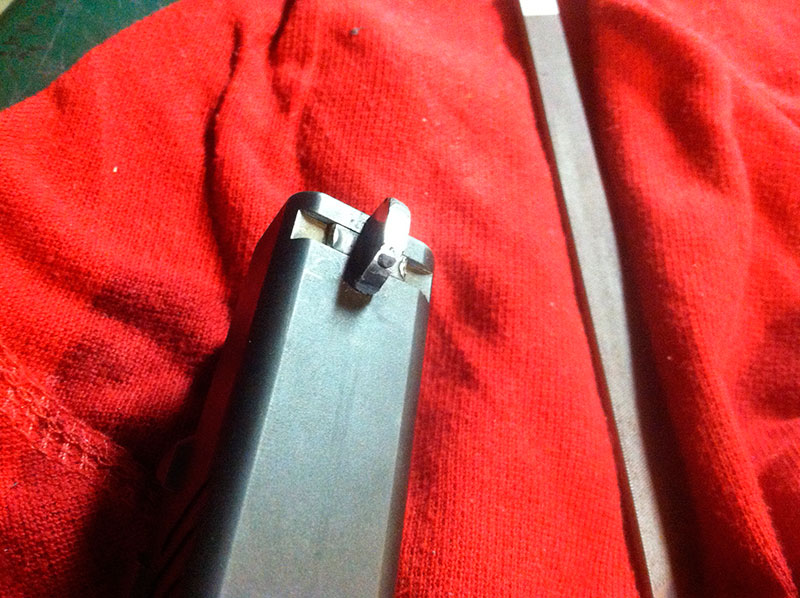
Somehow I need to get this .0454 into the sight geometry. I filed the rear sight right up to the tritium inserts but I still needed a good .016 removed. Since the front sight had so graciously freed the tritium vile in the front sight, I didn't think it would mind me welding on it a little bit, to add the material I needed for that extra .016".
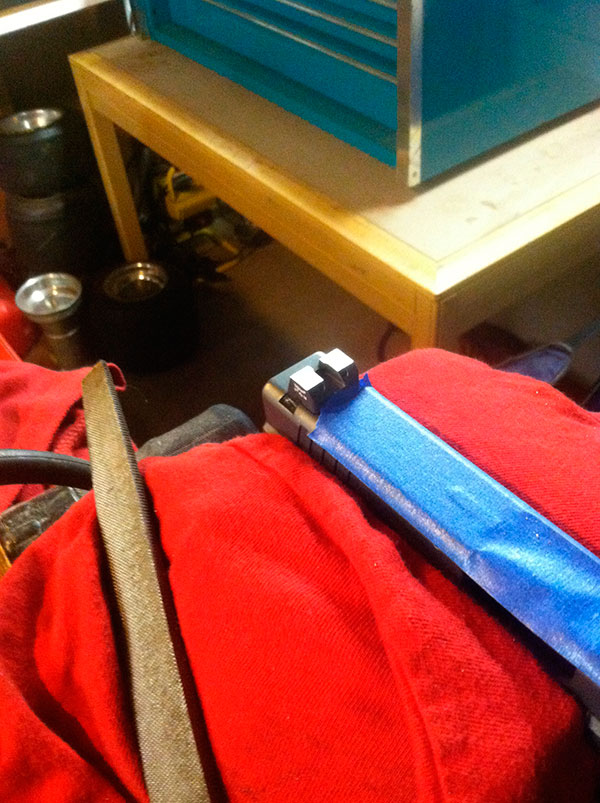
I'm a very inexperienced welder, and thought it might be a good idea to practice on a broken sight (yep I even keep broken sights). This was a good idea; it allowed me to figure out what voltage and feed rate would be best for my installed Ameriglo sights.
I opted not to take the sights out to work on them because my sight pusher is not deep enough for suppressor sights, and it puts a lot of stress very high on the sights. I placed the sight in a vise and clamped my ground to the vise. Then I cut a piece of Aerogel impregnated fiberglass matte to sit on top of the slide to protect it. I set the voltage to 'B' and the feed to 1 and I went to work. I'm the king of ugly beads, and this one was ugly, however it was one of my better ones.
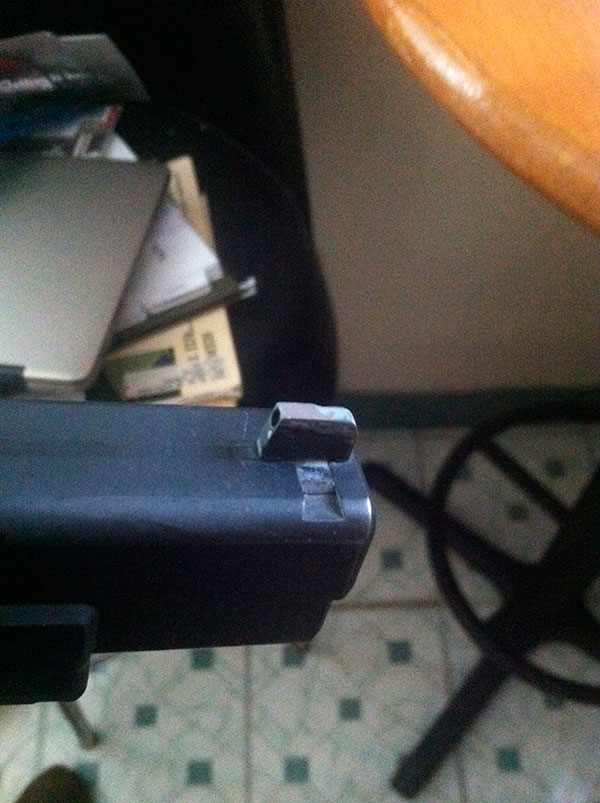
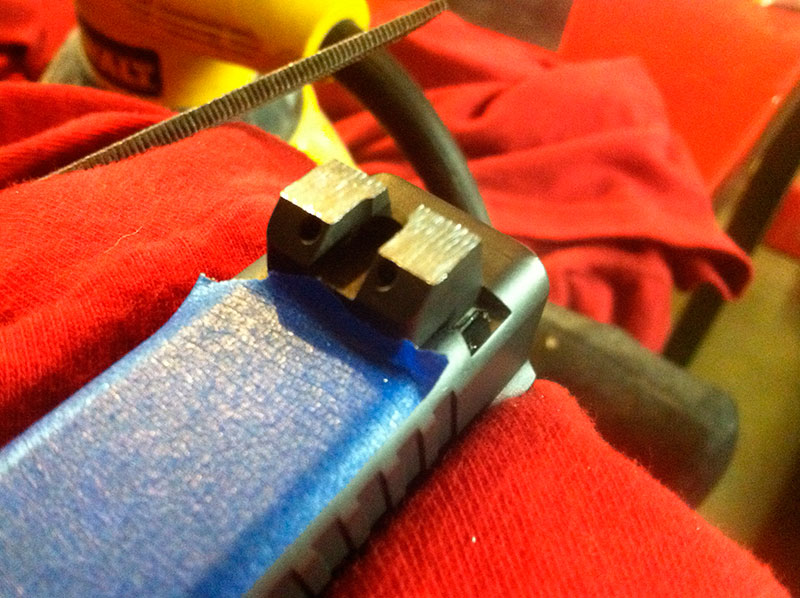
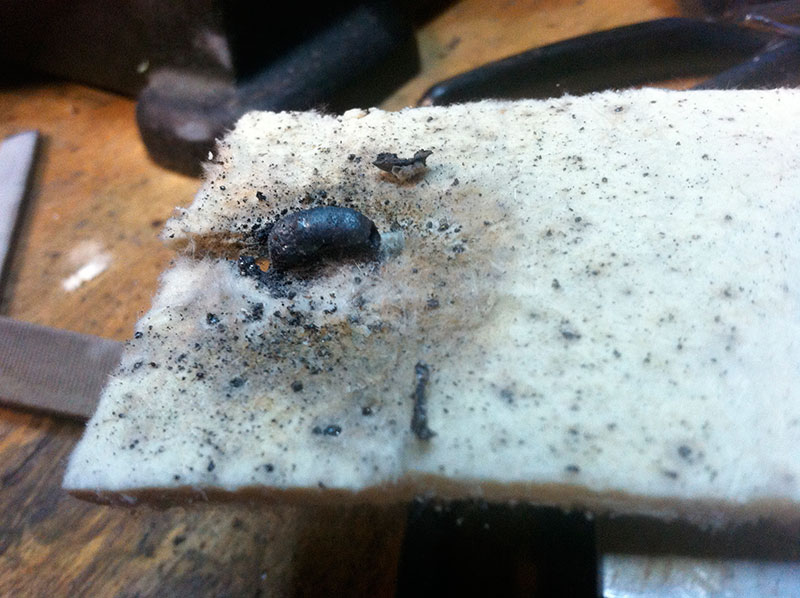
I used some Aerogel impregnated, fiberglass insulation to shield the gun from the sputters. It worked great!
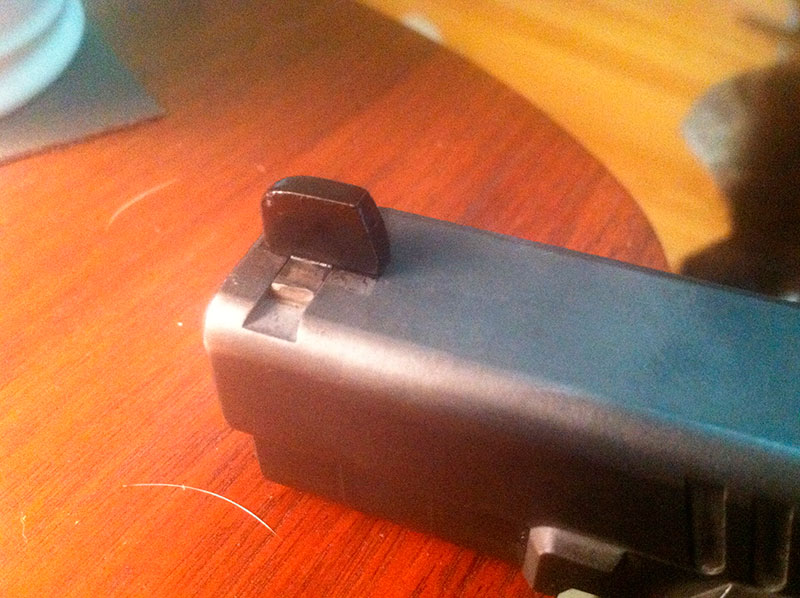
After welding, I went to work masking the slide with lots of masking tape to prevent me marring the slide while I filed it back into shape (now with the extra .016 I added). I did all of this by hand and I think it turned out pretty well. After I was finished filing I filled one little area with JB weld, where I had a welding blemish and filed again to smooth the sights. I then cleaned the sights with an acetone based cleaner-degreaser that came in the Duracoat kit. This stuff works. I then masked up close to the sights I was re-finishing with Kapton tape normally used in electronics work (because it can stand up to my oven). The rest of the slide I covered in masking tape and hit the sights again with a light spray of the degreaser. I followed the Duracoat directions and applied 3 light coats exactly five minutes apart on to the sights. When I was happy with the coverage I carefully took off the masking tape and took a little of the degreaser to rub off any Duracoat I may have gotten on the slide off (leaving the Kapton close to the sights on) and put in a preheated oven (150f) for exactly one hour. I took the part out and removed the Kapton, then took a knife and carefully scrapped off any Duracoat that was in areas it shouldn't have been in. It should also be noted that I sprayed a machete and a magazine (just to test) and still feel like I wasted nearly an entire can of this stuff, so have a bunch of stuff ready before you activate your Duracoat. I bought the kind that you do not have to bake, however I believe it didn't hurt it any to throw it in the oven at such low temps.
For a "Matte Black" finish, it sure is shiny. Perhaps I put it on too thick, but without three coats it would be too light to coat all of the steel. The literature calls for many days of curing time. I'm not sure how much the hour in the oven sped up this process, but I'm sure it didn't make it shiny. Other than that, I'm very happy with this coating system. Especially since I did not have to purchase any expensive airbrush equipment.
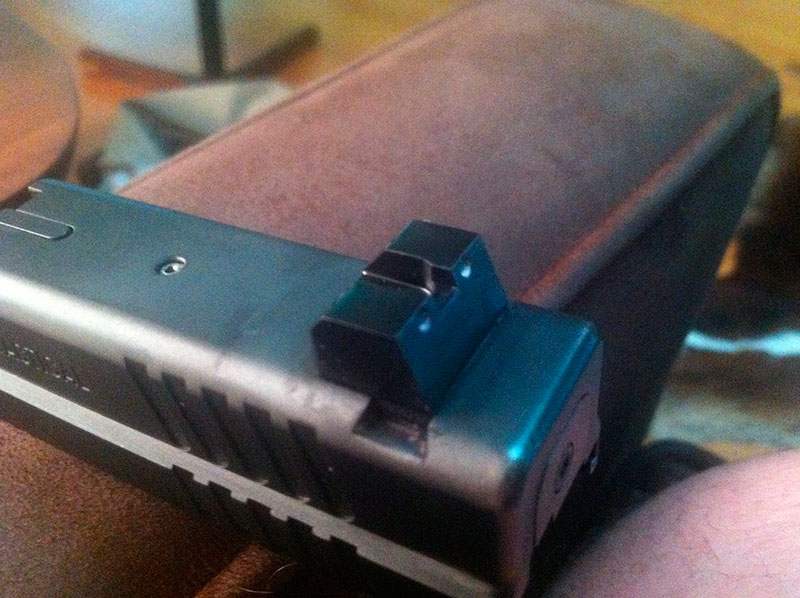
as of right now the gun shoots right at the front sight. I might raise it a bit. I think I will weight though because I have a Bar-Sto 416L threaded barrel on the way, and I don't want to have to do more sight work than I have to.
UPDATE I called Ameriglo and told them how the front site tritium insert fell out. I told them that I already wielded on the front site and did not expect a refund, I just wanted to tell them about it. Further, I wished to purchase a new set with a higher front sight (SG-160-390 .390 tall .125 width (listed for Sig) (regular ameriglo suppressor set is at .350 tall)for a friend. He told me no problem and sold them to me at half price! I told him he was being overly fair but he would not hear it. Nice Guy!
How Bad Is Tritium If You Break Your Sights?