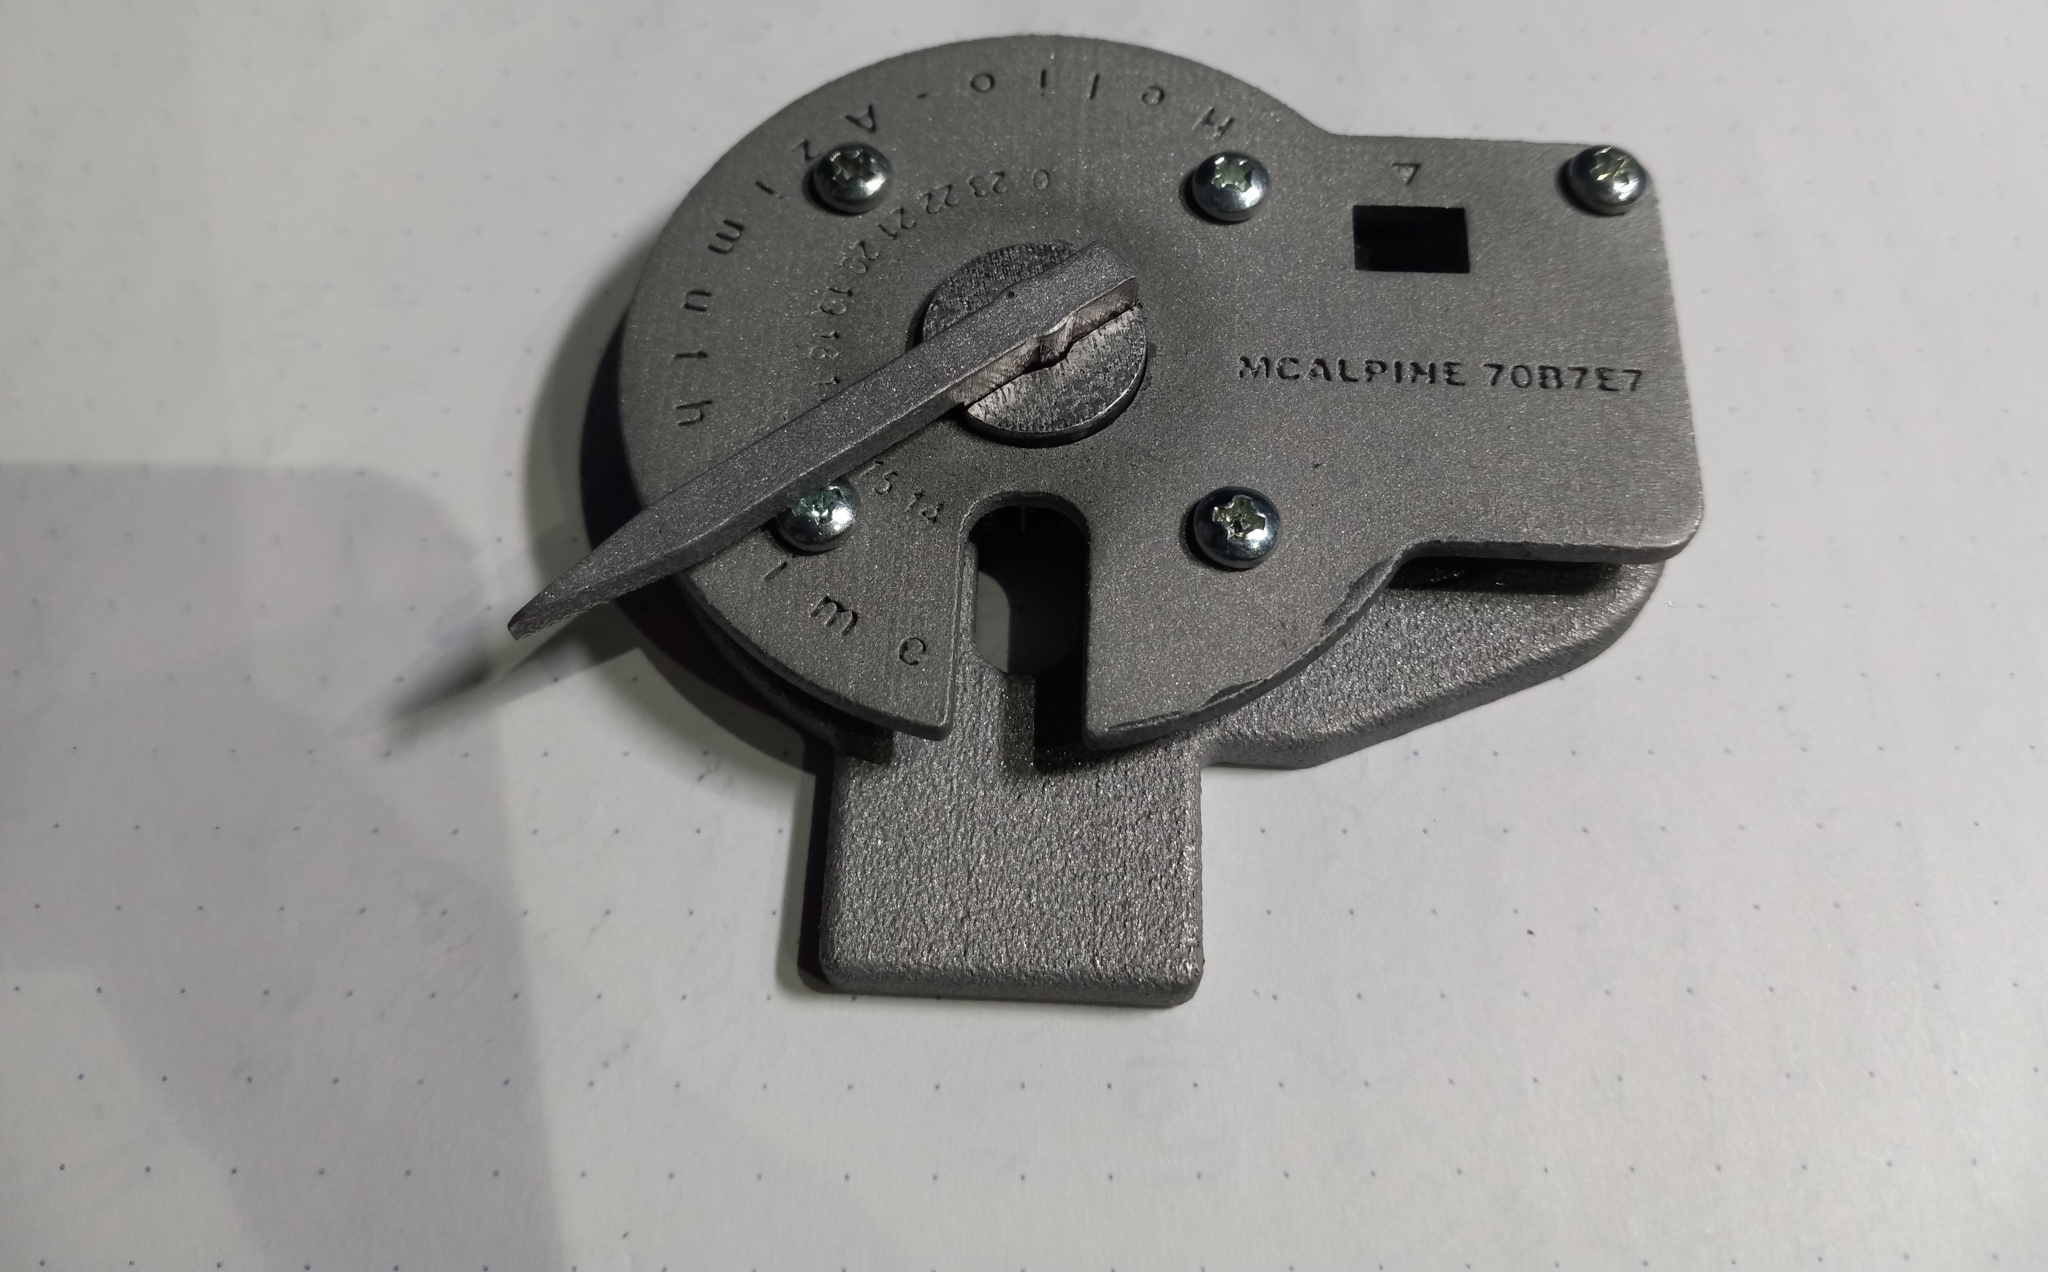
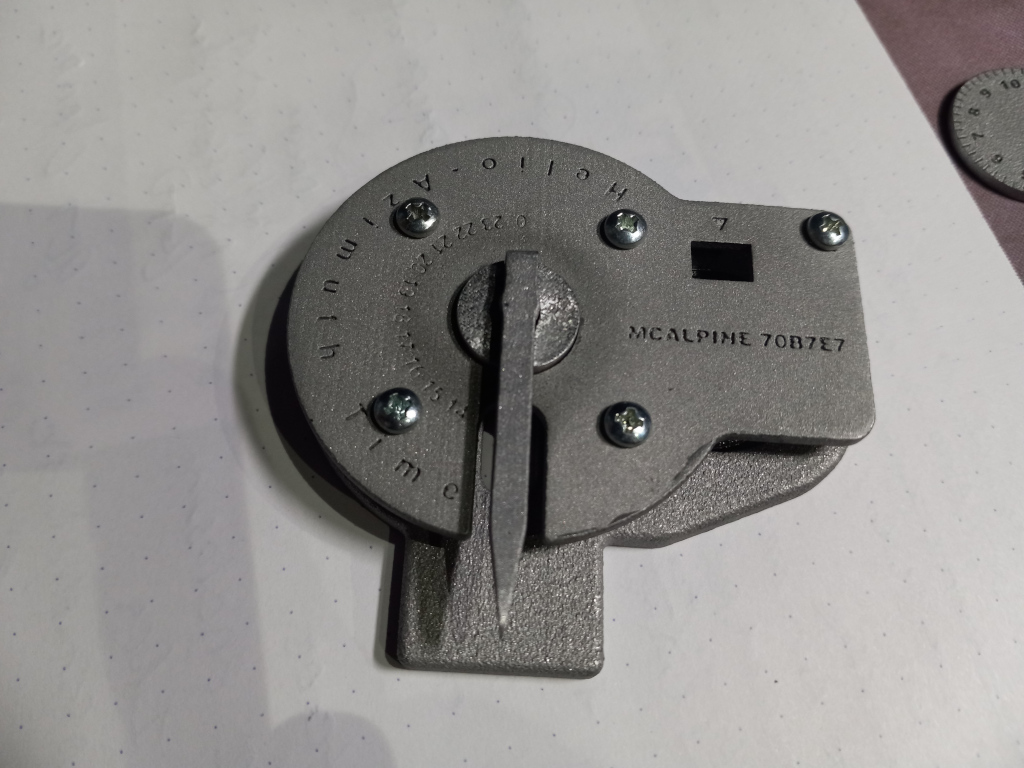
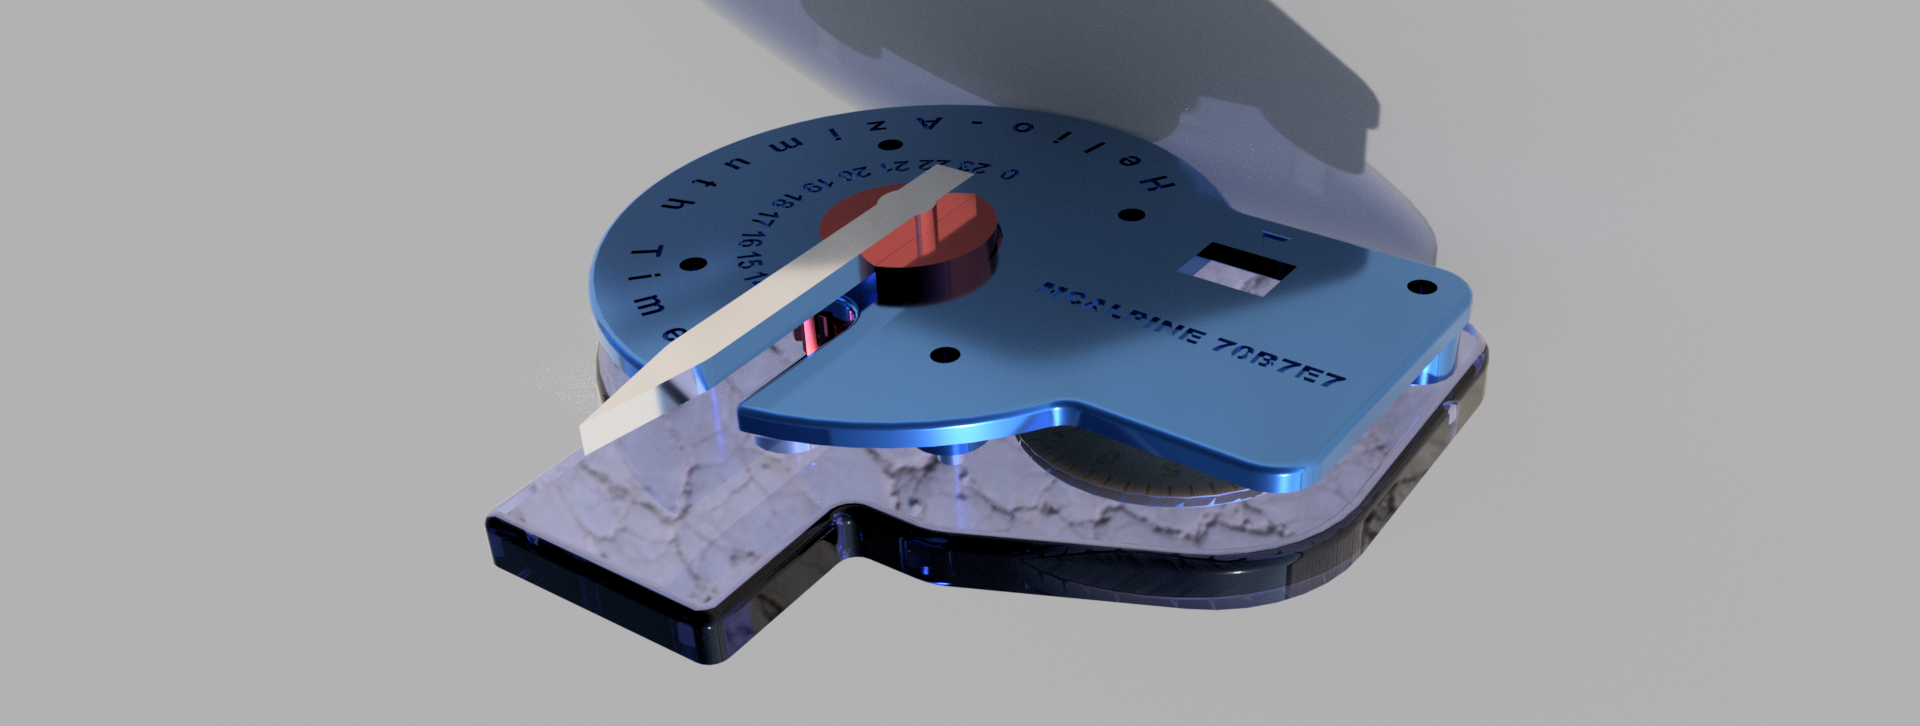
The Compass H.A.T. --- Helio-Asimuth-Time ---

The idea here is that the earth spins 360 Degrees every 24 Hours. So, every hour is 15 degrees.
The idea here is that the earth spins 360 Degrees every 24 Hours. So, every hour is 15 degrees.
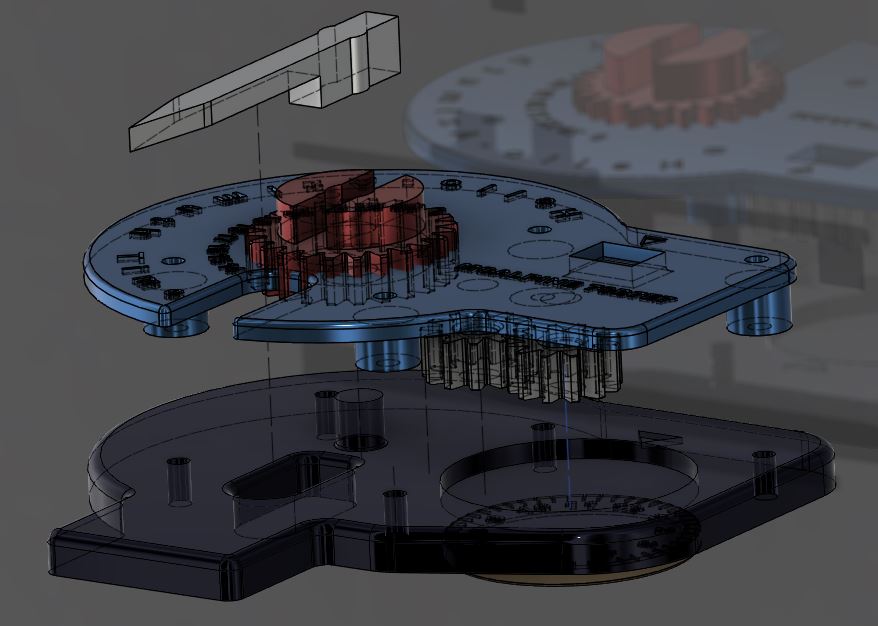
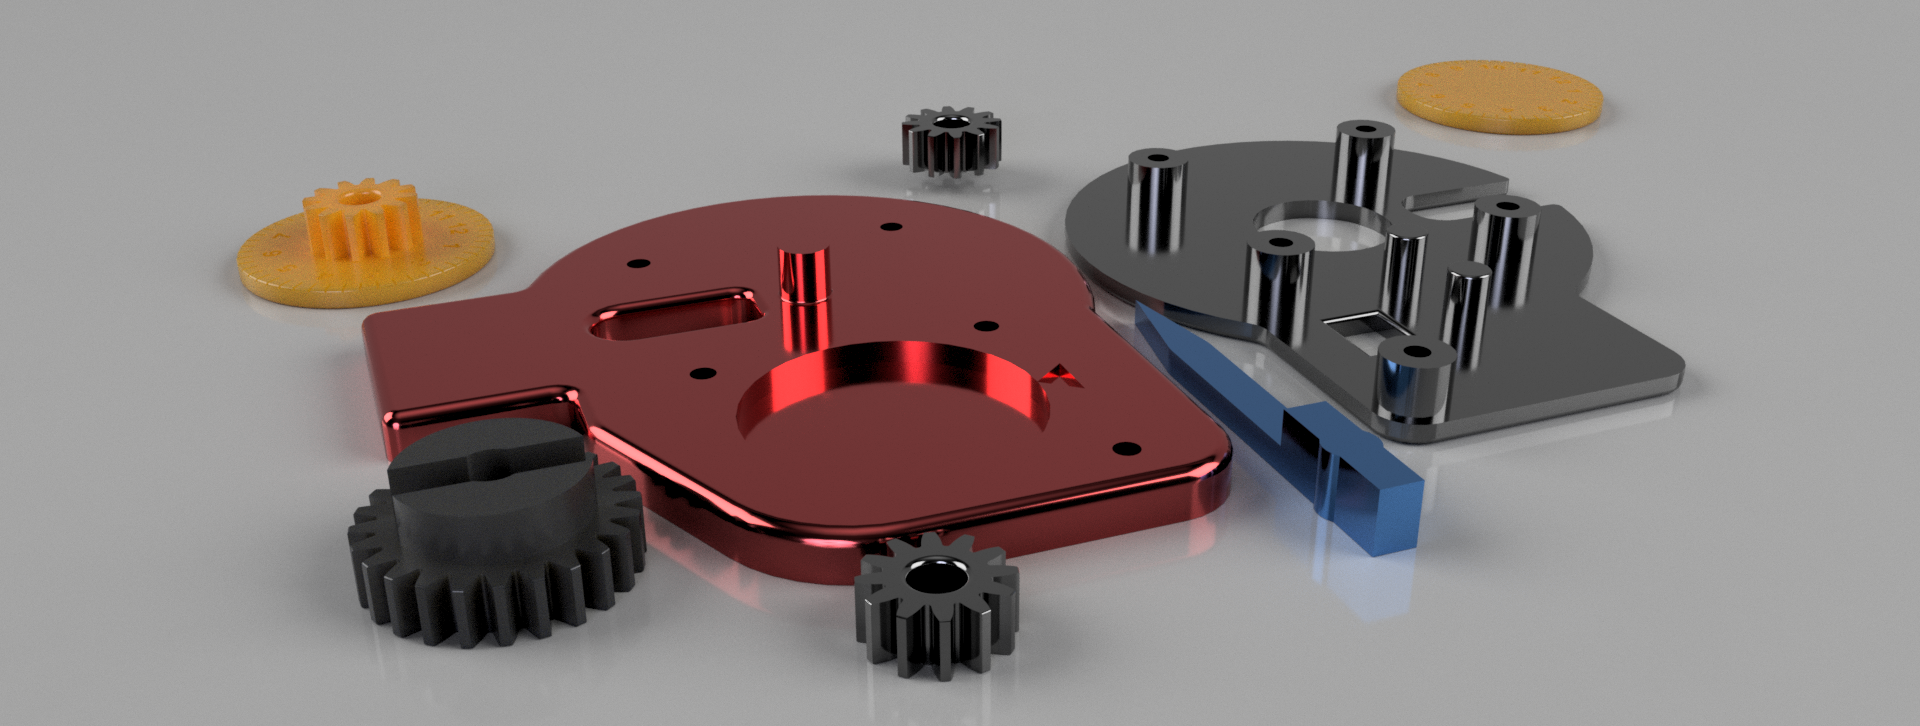
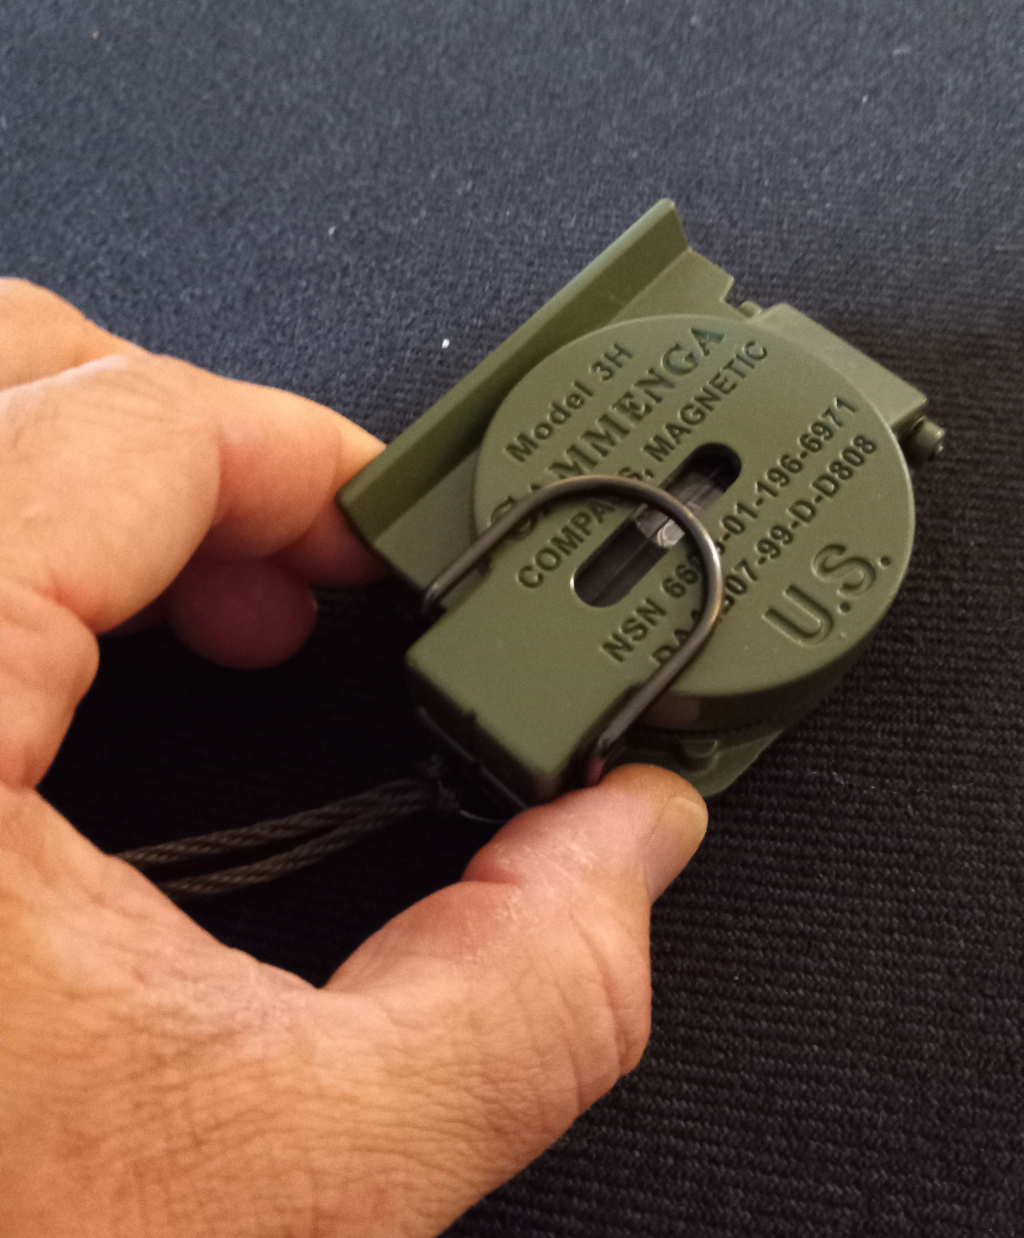
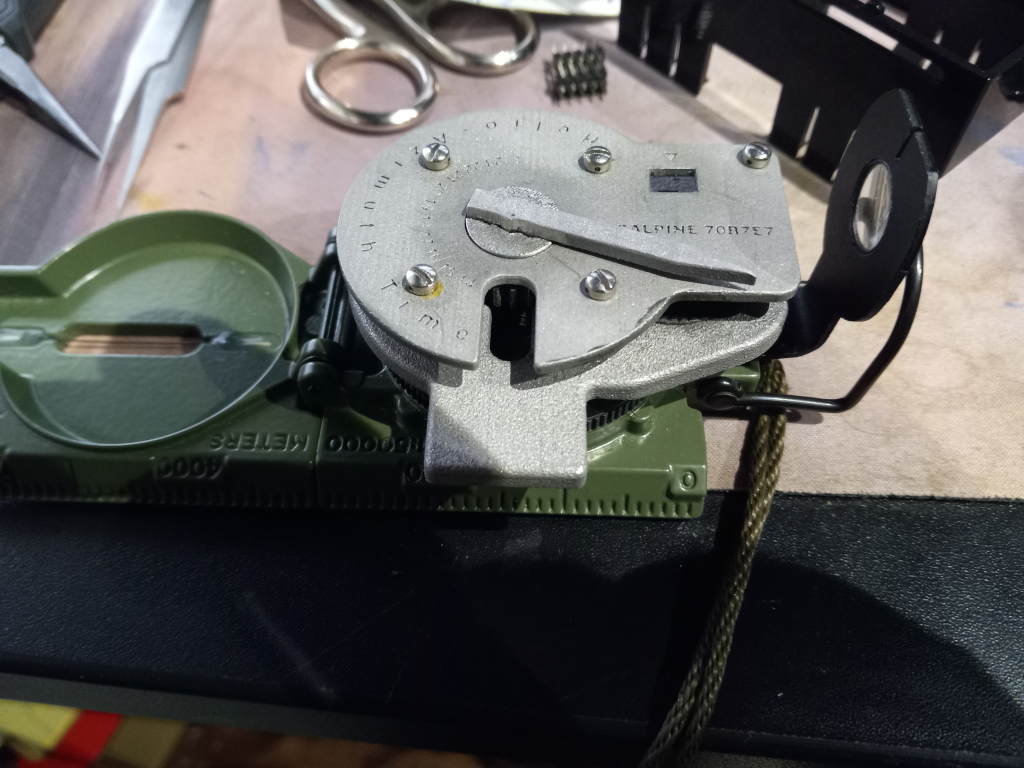
The device is designed to fit over a compass (specifically a Cammenga, but any compass will do. There is a hole to align the compass to magnetic north, and a geared pointer to point towards the sun. There is a two-to-One reduction and a reversing gear (because we humans read time clockwise), Thus calculating the time.
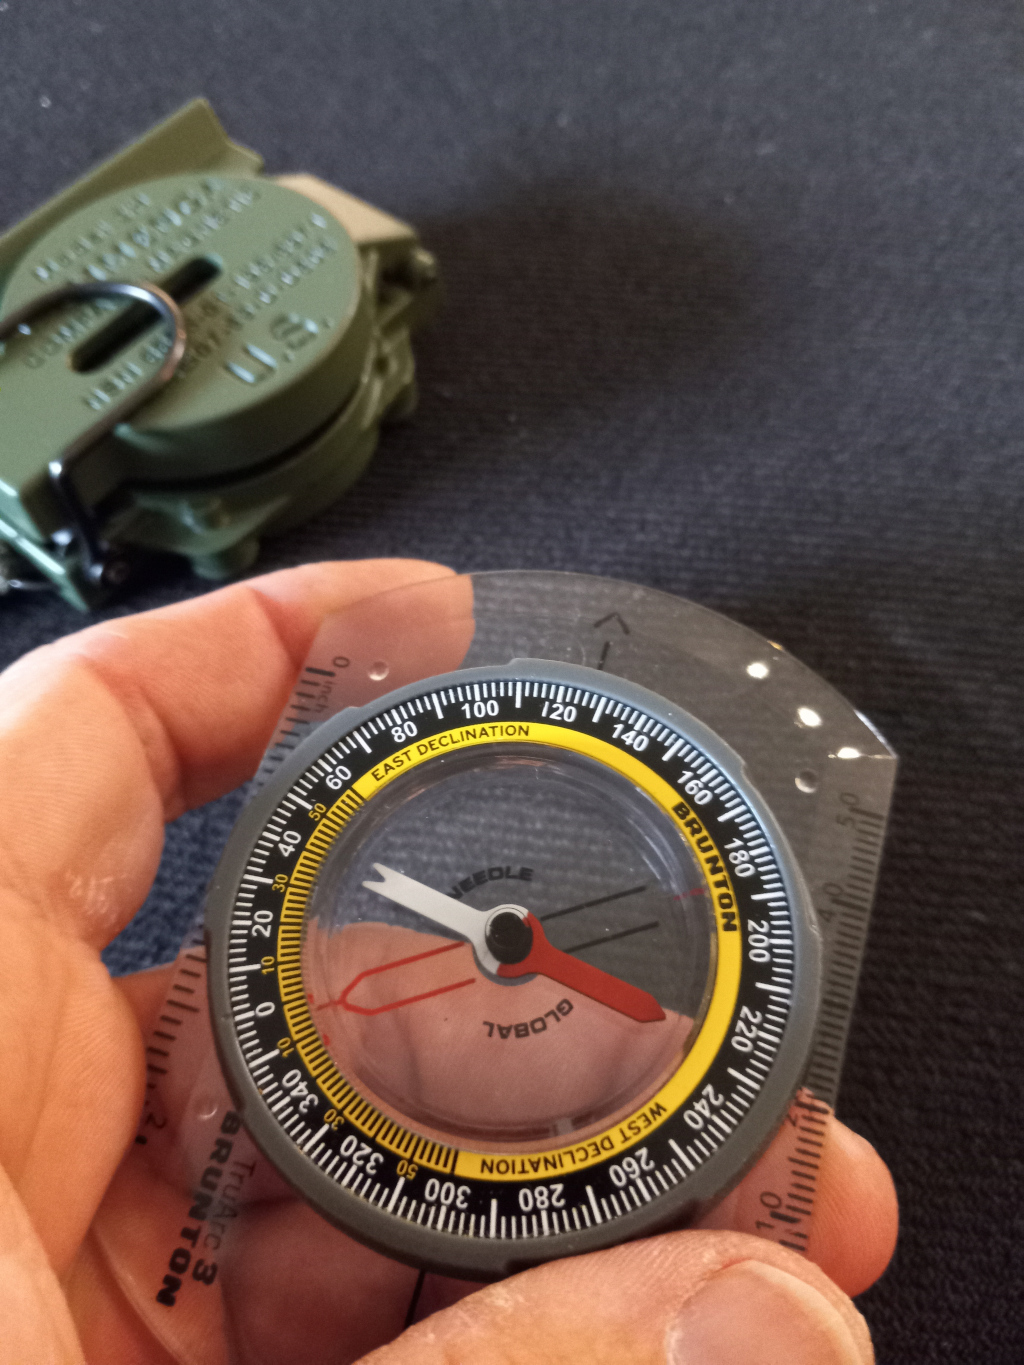
There are a few issues with this.. Accuracy. A lot of this can be turned out however. The first being daylight savings time. You have a +-30 minute delta here if you do not correct for it. The next issue is that you may physically be on the edge of a time zone, thus another +-30 minute delta. Finally, there is magnetic north, and True north (the sun following, from your perspective) the latter. With patience, the suns path can be marked, so finding the declination between true north and magnetic north can be found. As far as time-zones and daylight savings time, your time will be more accurate as related to the sun, or you can just adjust for it if you know your timezone and in what phase of daylight savings time you're in.
This idea was always for 3d-printing of some type. The new material we're play with a work is a incredible, Carbon Fiber Reinforced Poly Carbonate Filament. The beauty of this stuff, is it's not only strong (strongest stuff we've seen, that can be printed on a consumer class printer, Prusa Mk3 in our case,) but it is incredibly dimensional-ly stable, making it great for gears! Because of the fiber, it doesn't like a nozzle smaller than a .4 so lettering is a problem. More on that later. The material also needed to be non-magnetic, so that it doesn't effect the compass it's setting on top of. With the price of printing online now, I opted to have most of the components printed out of laser sintered aluminum. The text in aluminum comes out great. I have some of these in the PC-CF, and some of these in Alu. This is a very early design, the tolerances are "what the world should be", not "what they are" so all the parts have required drilling or fitting of some kind, I simply used drill bits, and 600 mesh diamond stones for knife sharpening to fit the components. Because of a design issue that I corrected after the Alu version came back, the actual wheel that reads the time in 15 minute graduations, I have printed in PC-CF, since the numbers did not come out so good, I tried to CO2-Laser them on, with very poor results. If I ever do it again, I will redo that part in Alu.... But this was enough to play with and it does tell the time. I originally tried to get some 4-40 titanium screws for the assembly, but I got burned on Ali-baba so, I just used stainless screws with some nylon standoffs, and it doesn't effect the compass at all.

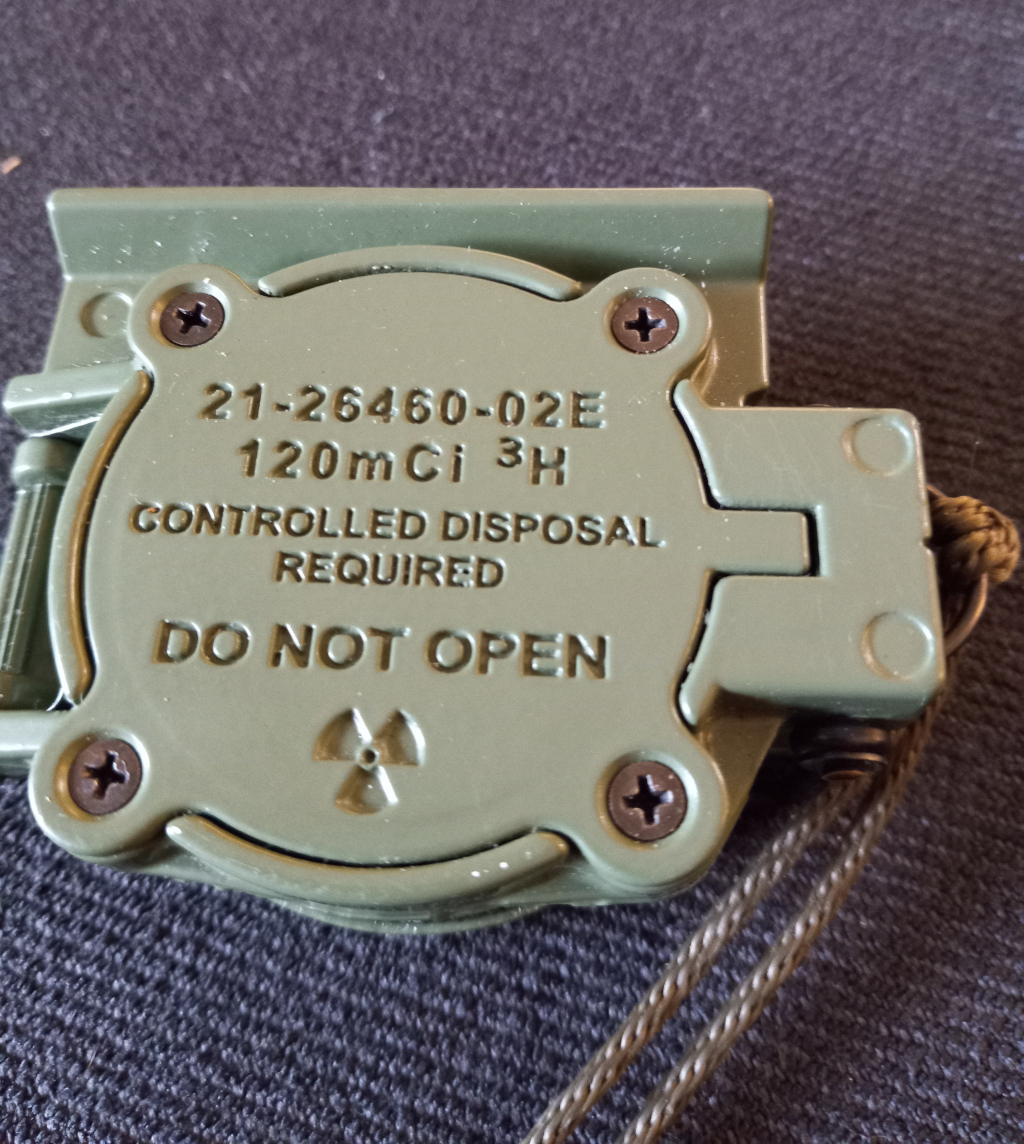
This was designed around the geometry of the Cammenga (tritium) magnetically damped compass. However... A slight error in design on my part means that the H.A.T. module must be placed at 90 degrees to the compass to allow for correct time. It can, of course, work with any compass. In fact, you don't really need the device at all for that matter, if you point the "dog house" at the sun and read the center-point of between the doghouse and the north pointing needle as if it were a clock (12 hour dial). This works because 12 o'clock in the afternoon always means the sun in at it's highest point for the most part.

You may opt to print the slave gear with the time wheel in one piece or separately to glue it on later. Further, if you choose not to use button-head or counter-sunk screws, you will need to raise the height of the sun pointer, to clear the screw heads.