Back to www.brainlubeonline.com
Back to The Gun Control Article
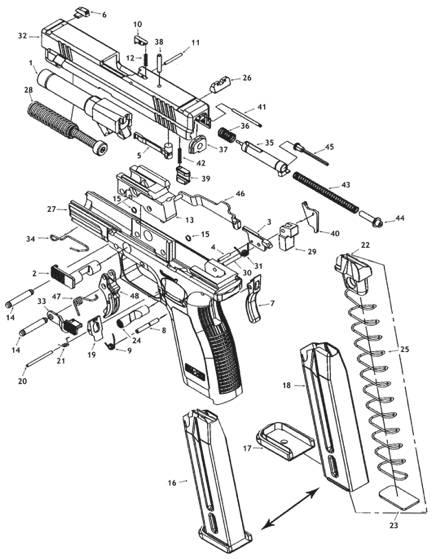
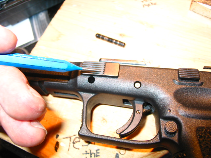
Trigger job
A Five year old could take apart and reassemble this gun. Amazing. Simple.
ANYONE CAN DO IT.
Oh yeah,
DON�T DO THIS, YOU
ARE NOT MY RESPONSIBLITY, YOU MIGHT GET HURT, DON�T DO IT. Let your gunsmith do
it for you.
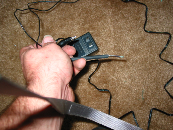
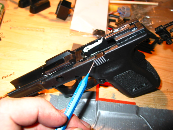
All you need is a 1/16 inch punch.
The Trigger job was a
very pleasurable project. Not only did I get to COMPLETELY disassemble the
firearm, but I believe this is a quality modification. There are so many
play-dough products and junk out there for guns that have certain parts for
certain reasons. I have always carried the mentality that my guns were made the
way they were made for a reason. All this trigger modification will do is give
me a less forgiving jury and a better Tactical/Carry/Target gun (big roll, I
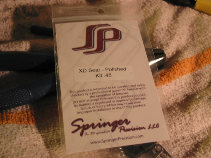
know). I started with a kit from Springer Precision (www.springerprecision.com), it came
with all the springs required to reduce the trigger pull and a new geometry
sear that seems to be made out of pretty good steel. Regardless of what is
advertised, it turns the trigger pull from around a little less than ten pounds
to about five. The sear was polished and black oxided. I took the black oxide
off with a radial wire brush I chucked in my drill. I then cleaned the sear
with nitro solvent and then again with alcohol. After the new sear was
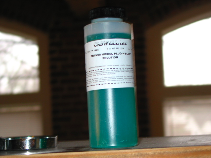
thoroughly cleaned I electroplated nickel over all the sear�s surfaces. Nickel
plating can be as hard as 60 Rockwell and boron nitride can be even harder. The
kit I used came from Caswell (http://www.caswellplating.com)
their small Nickel electroplating kit is only about thirty bucks. I also
purchased a fine tipped wand for about two dollars that I absolutely needed to
get into the small crevasses of the sear. Instead of plating the trigger bar I
opted to just re-black oxide where in had been worn because I believe the black
oxide will hold lubricant better than the nickel. The nickel might be hard
enough to not require lubricant anyway, so I might go back in and nickel it. I
found the black oxide kit at Caswell also (website listed above). The trigger
bar requires a set screw to adjust the travel, I don�t know if I like that
reliability wise so I�m going to leave that out the first time around.
http://www.sherline.com/3100inst.htm Is a great site to learn how threads are made. The gear diameter determines pitch and the gear count determines thread direction. Just neat, anyway back to guns. Reliability is very important to me in this gun because this is also my carry gun and will never be a great target gun. I am constantly on a bicycle for health, fun, and on sunny days transportation, but my starting point, or my �investment property� is not in the best area. Whatever I do to this gun, it will be to make it better at what it does, not to make it something its not. It IS reliable.
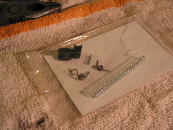
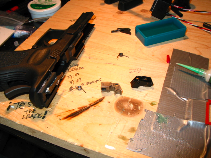
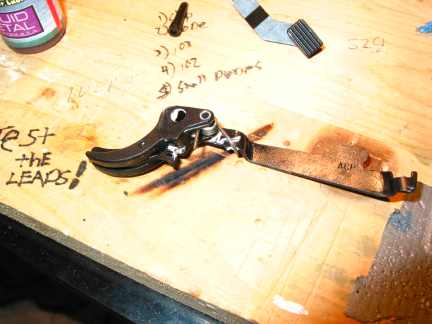
Here�s the kit!! cut
Firing pin spring,
Sear spring, Trigger spring, and the Trigger safety spring. I did NOT install
the Trigger safety spring! I like safety. And it ultimately does not affect
trigger pull since it is the weakest spring in the mechanism anyway, I don�t
know why they included it.
The kit comes with no
instructions. This is just fine, since the XD is such a simple and
well-engineered gun.
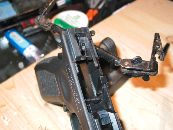
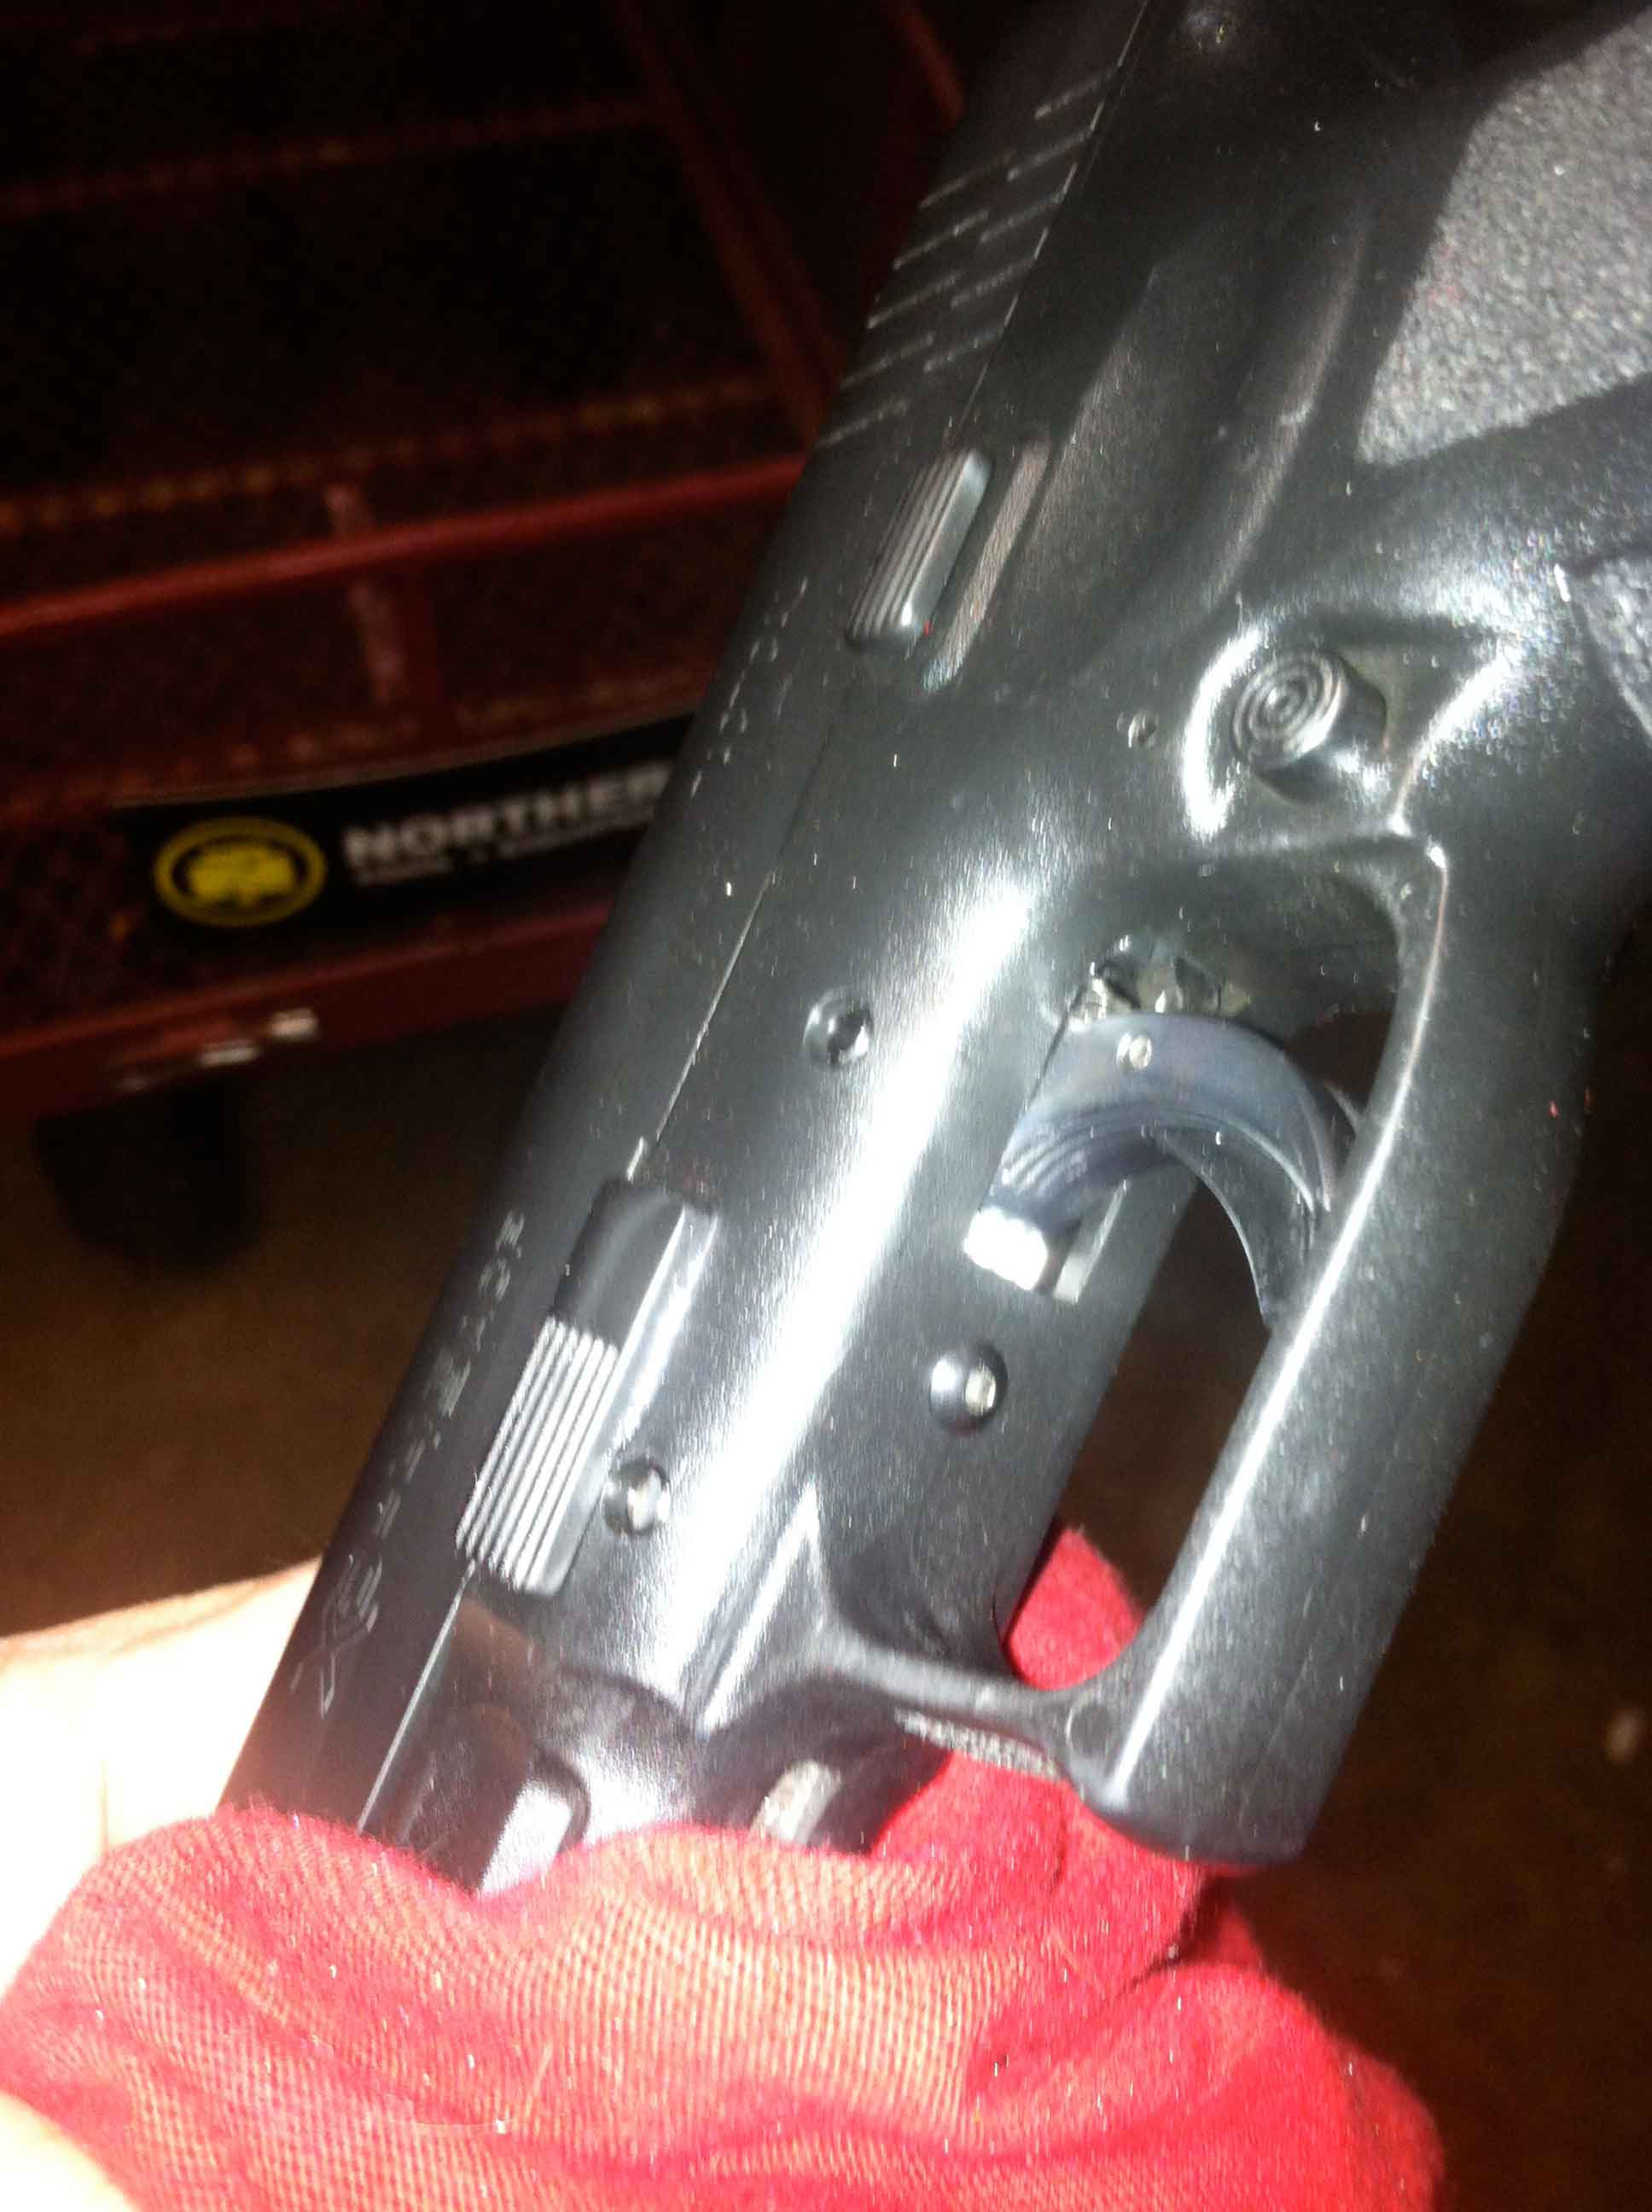
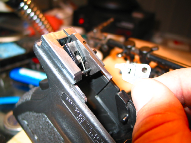
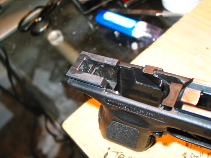
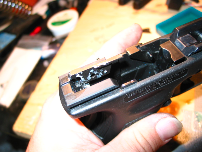
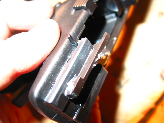
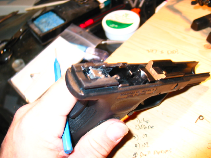
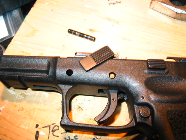
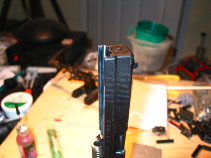
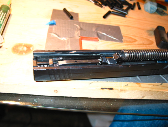
Take the upper
assembly off. (Slide)
Lightly tap the punch
(a 1/16 inch punch is all you need to take down the entire gun to remove this pin.
Then use pliers or
your fingers to push out the spring retaining pin.
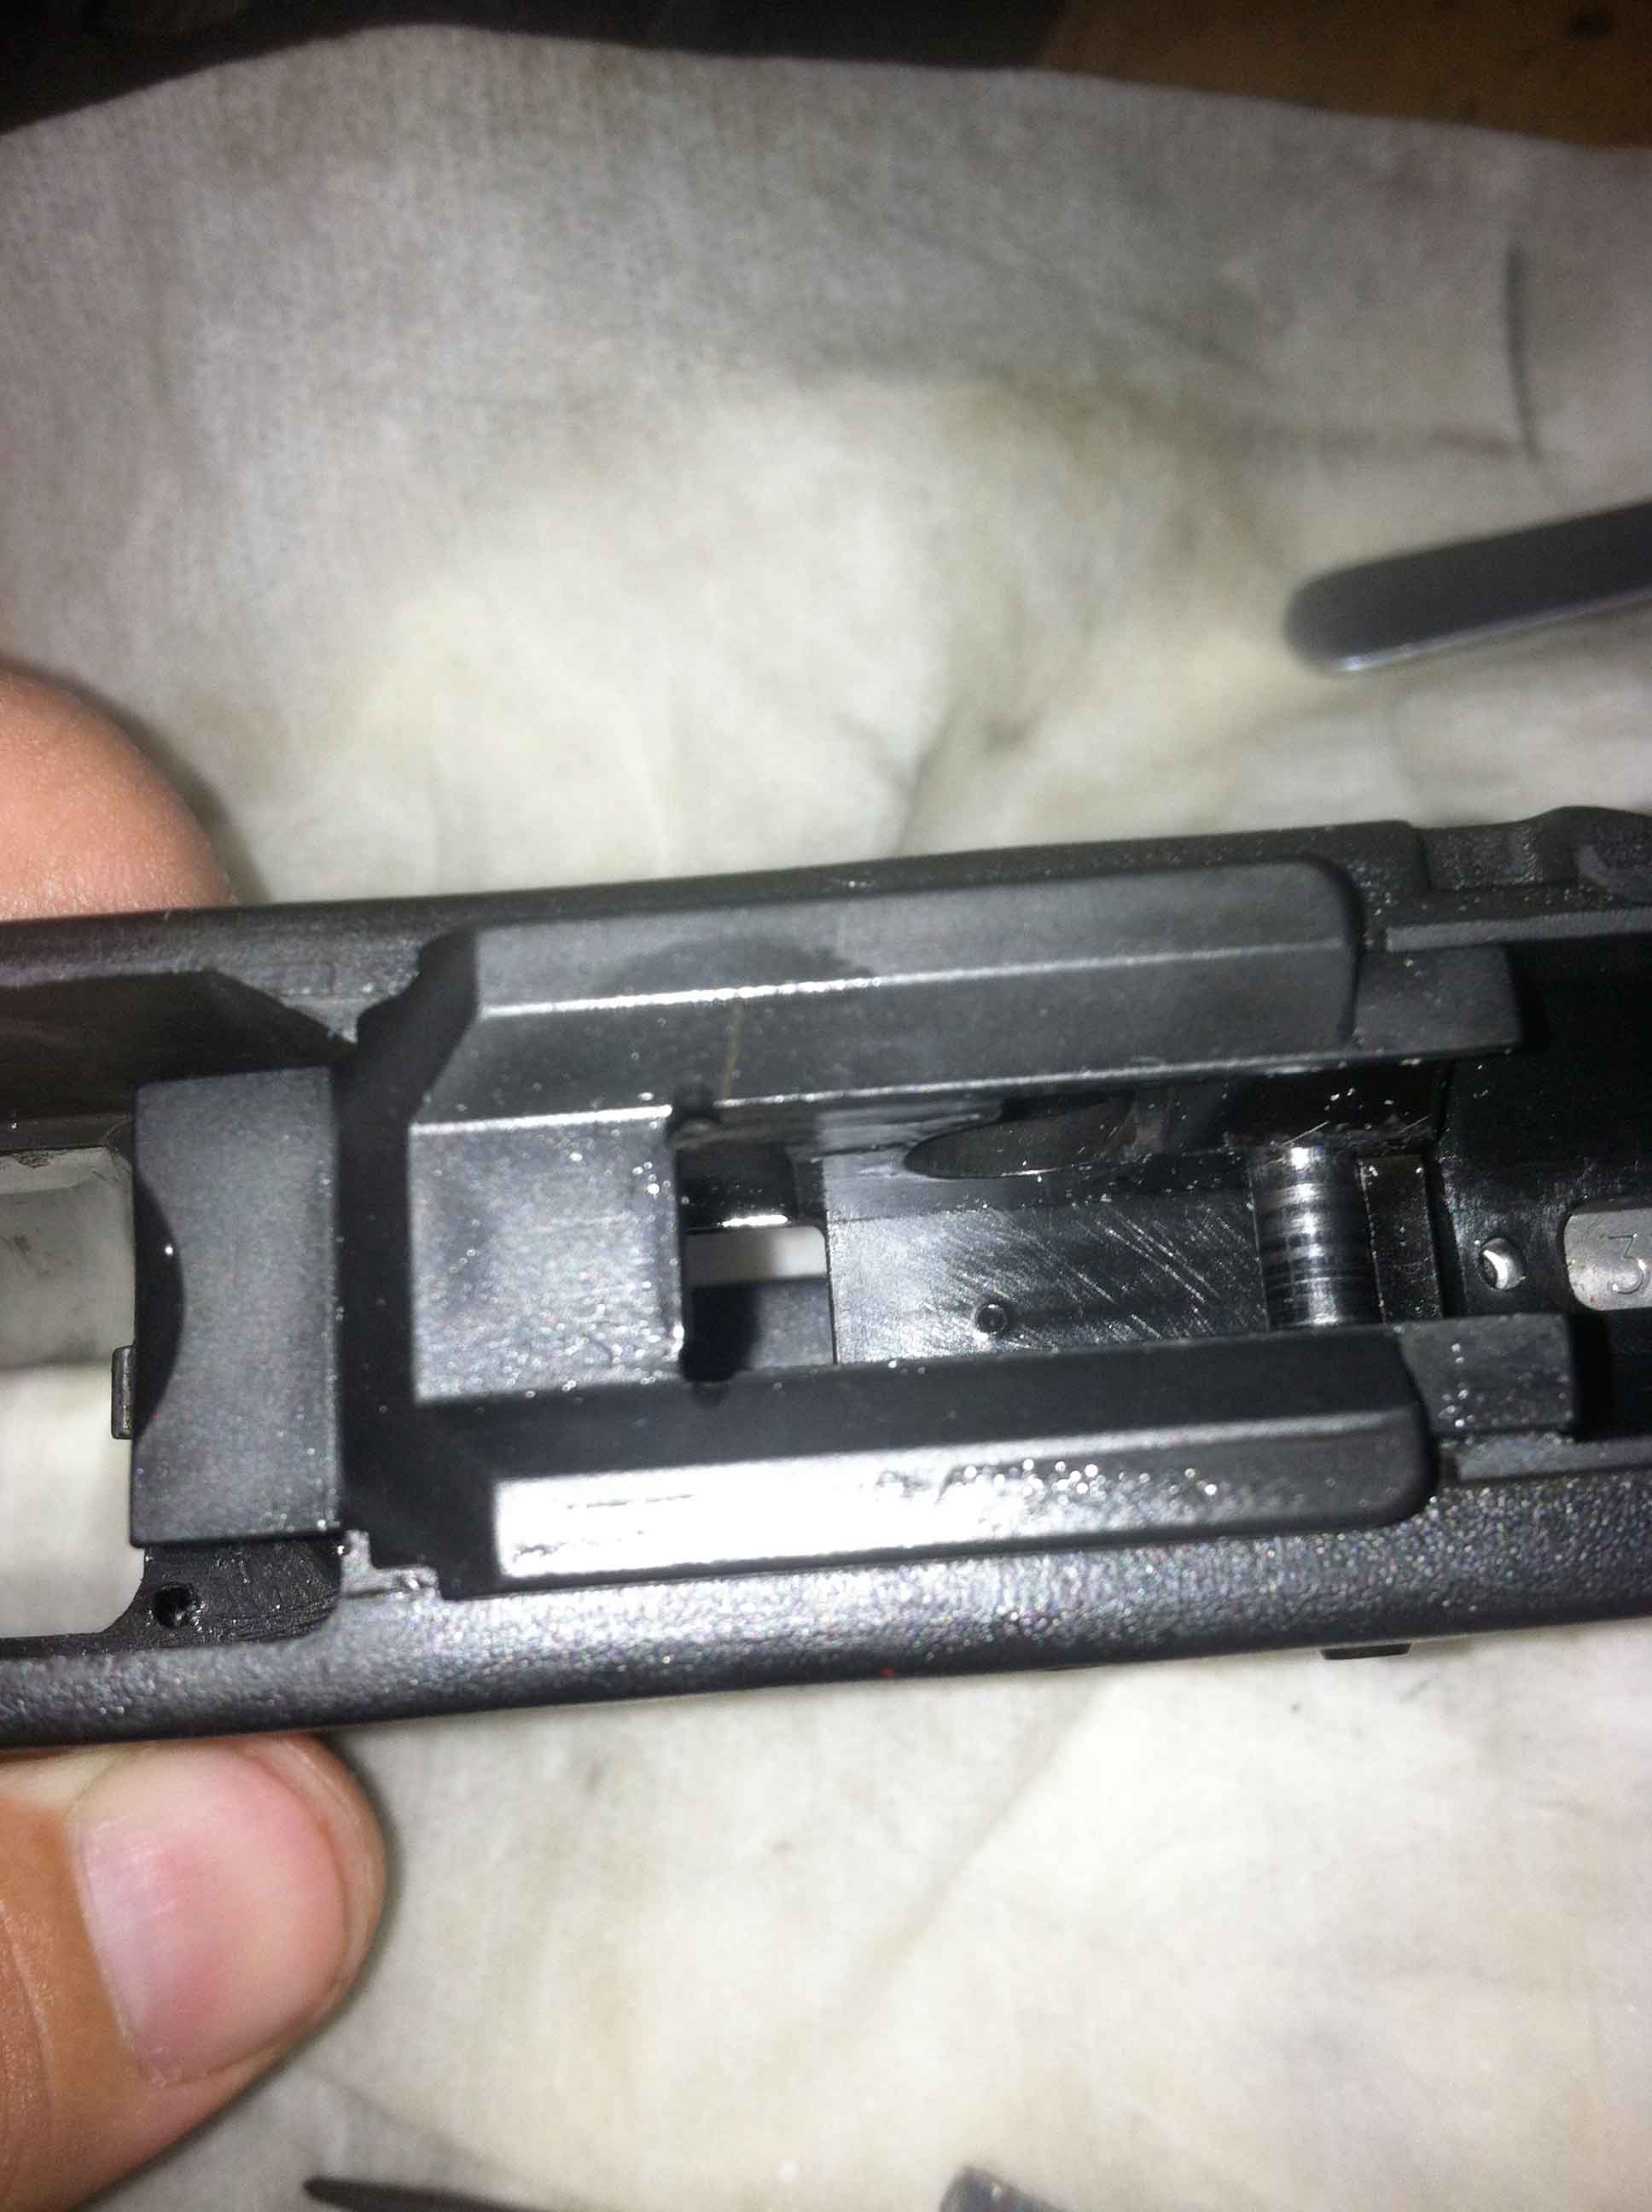
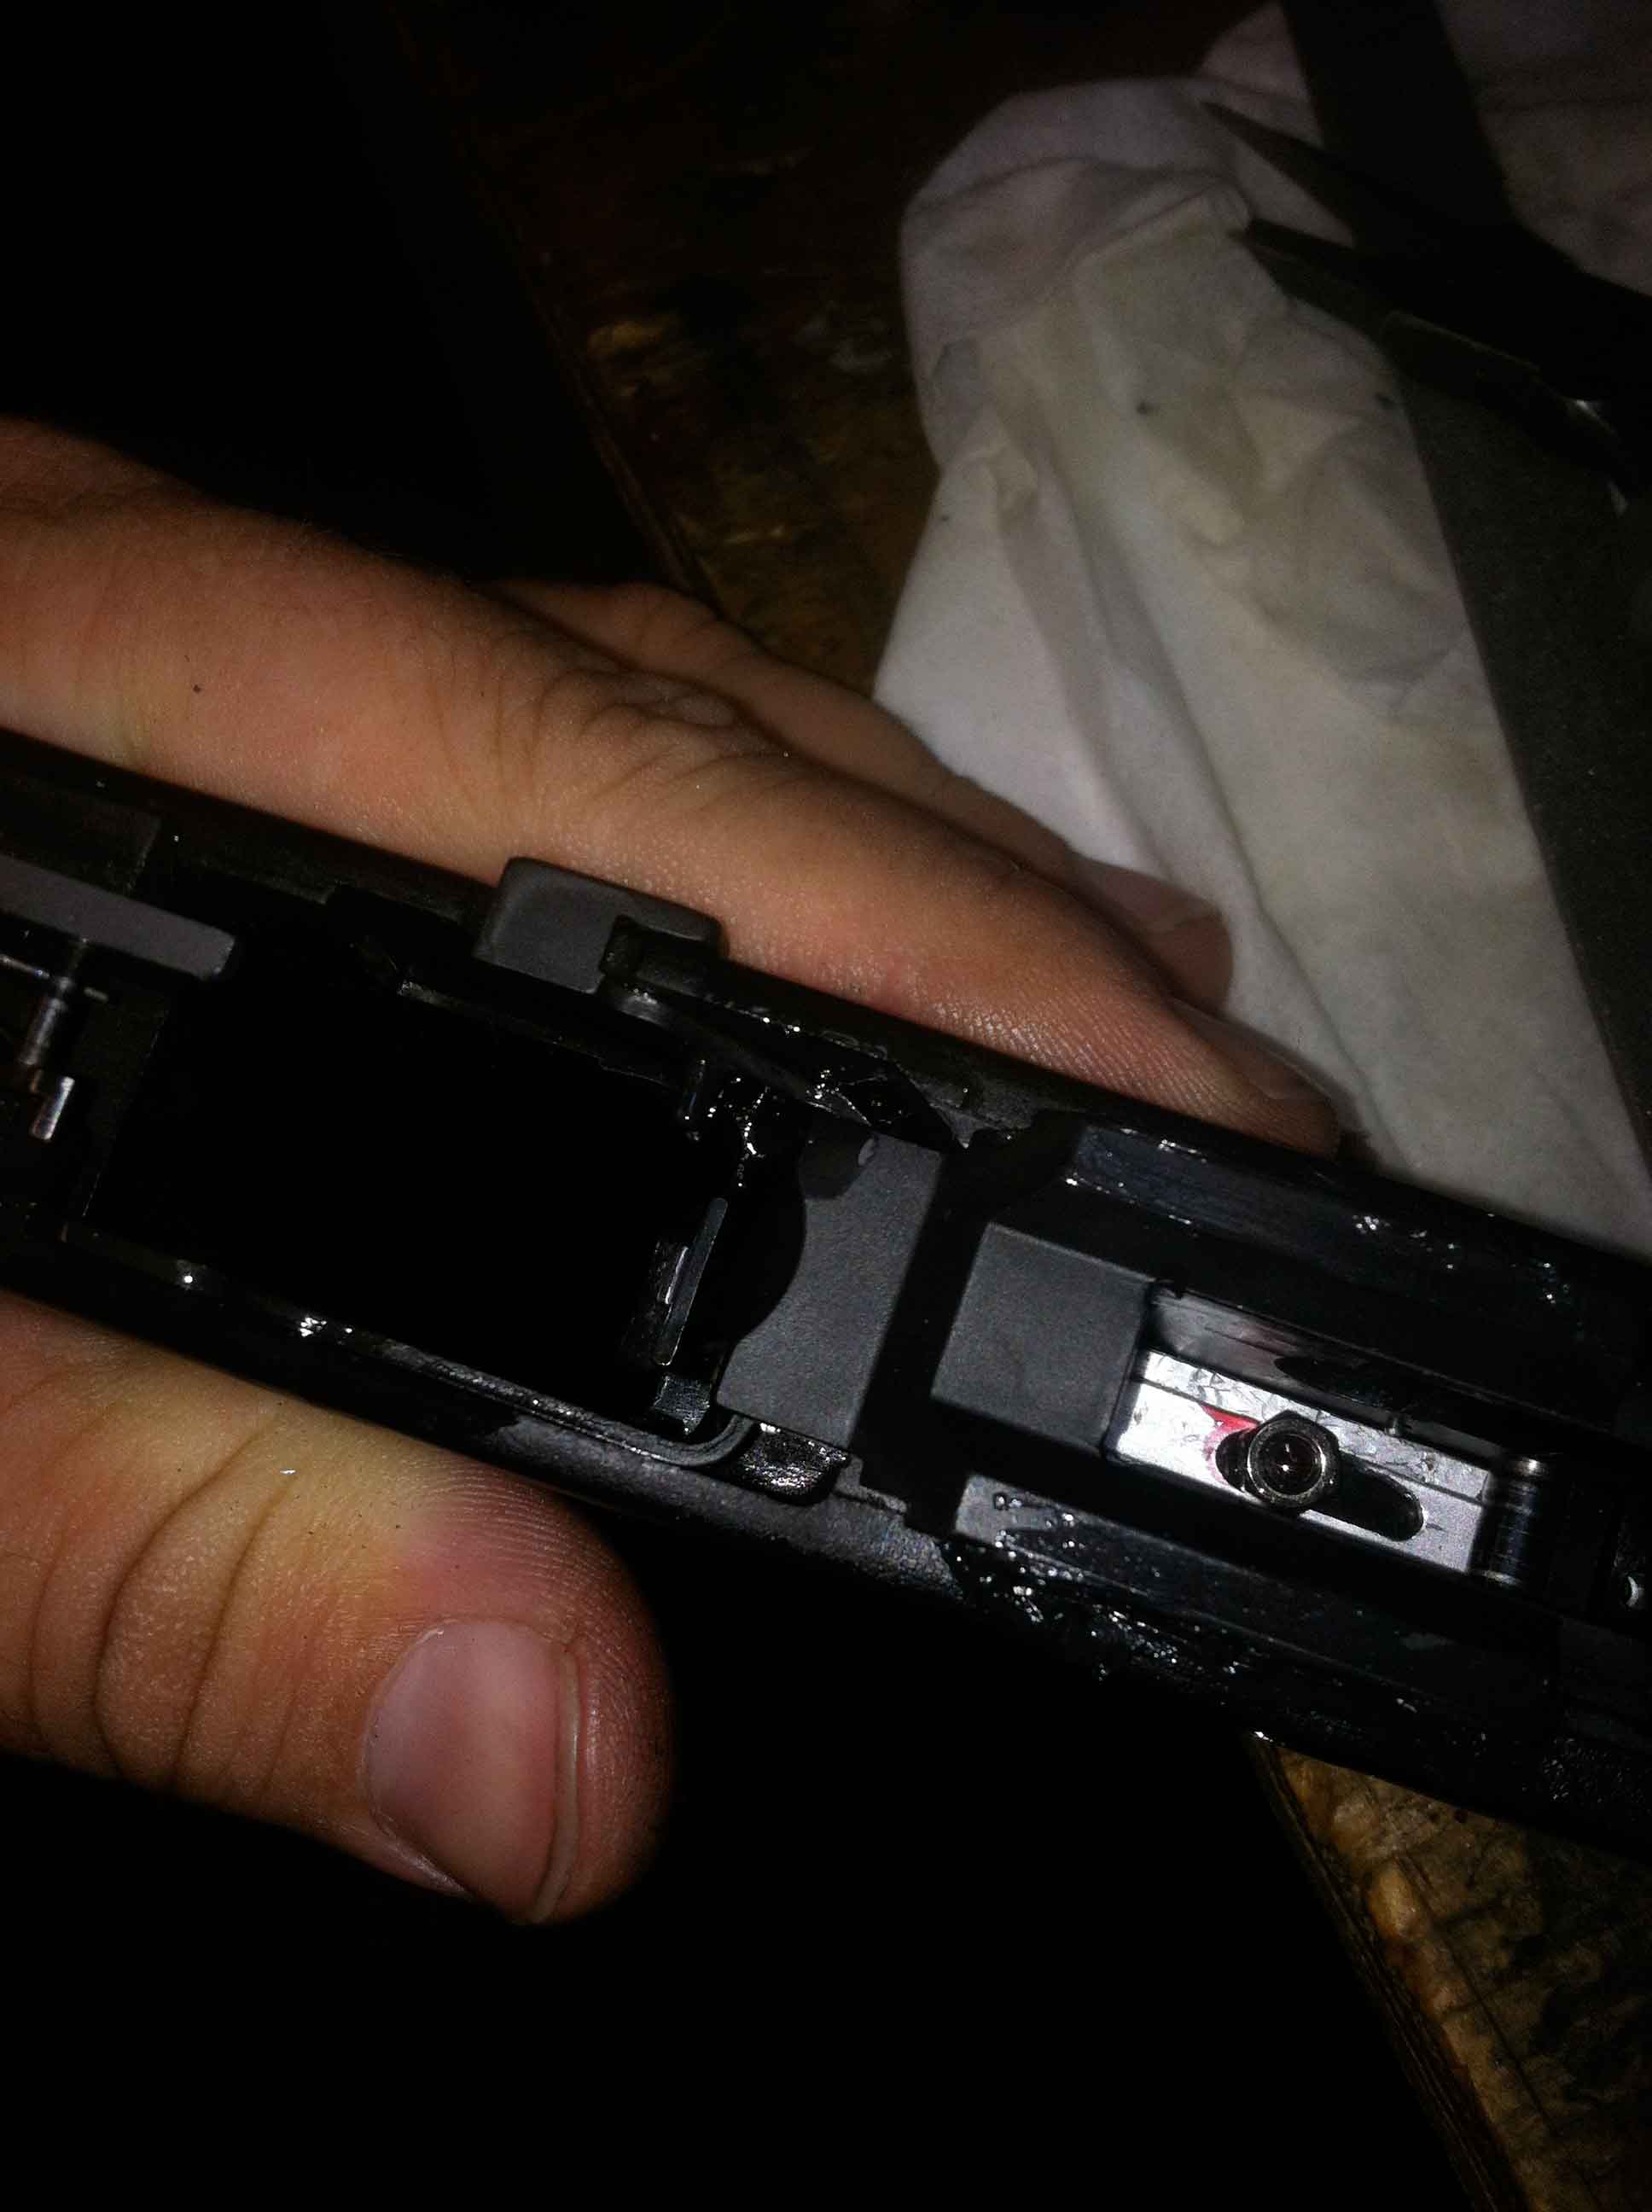
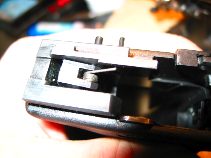
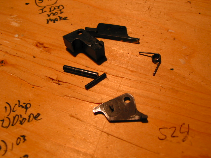
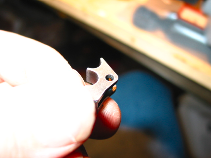
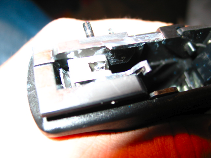
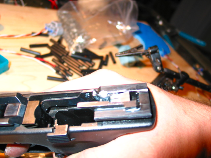
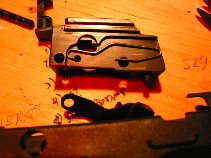
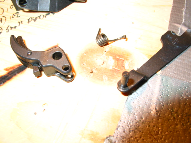
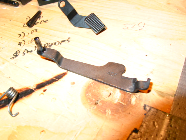
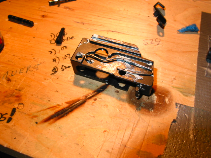
There you have it.
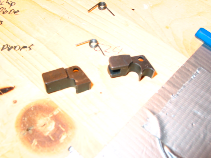
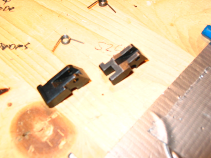
Ejector, Sear, and Sear spring. SIMPLE!
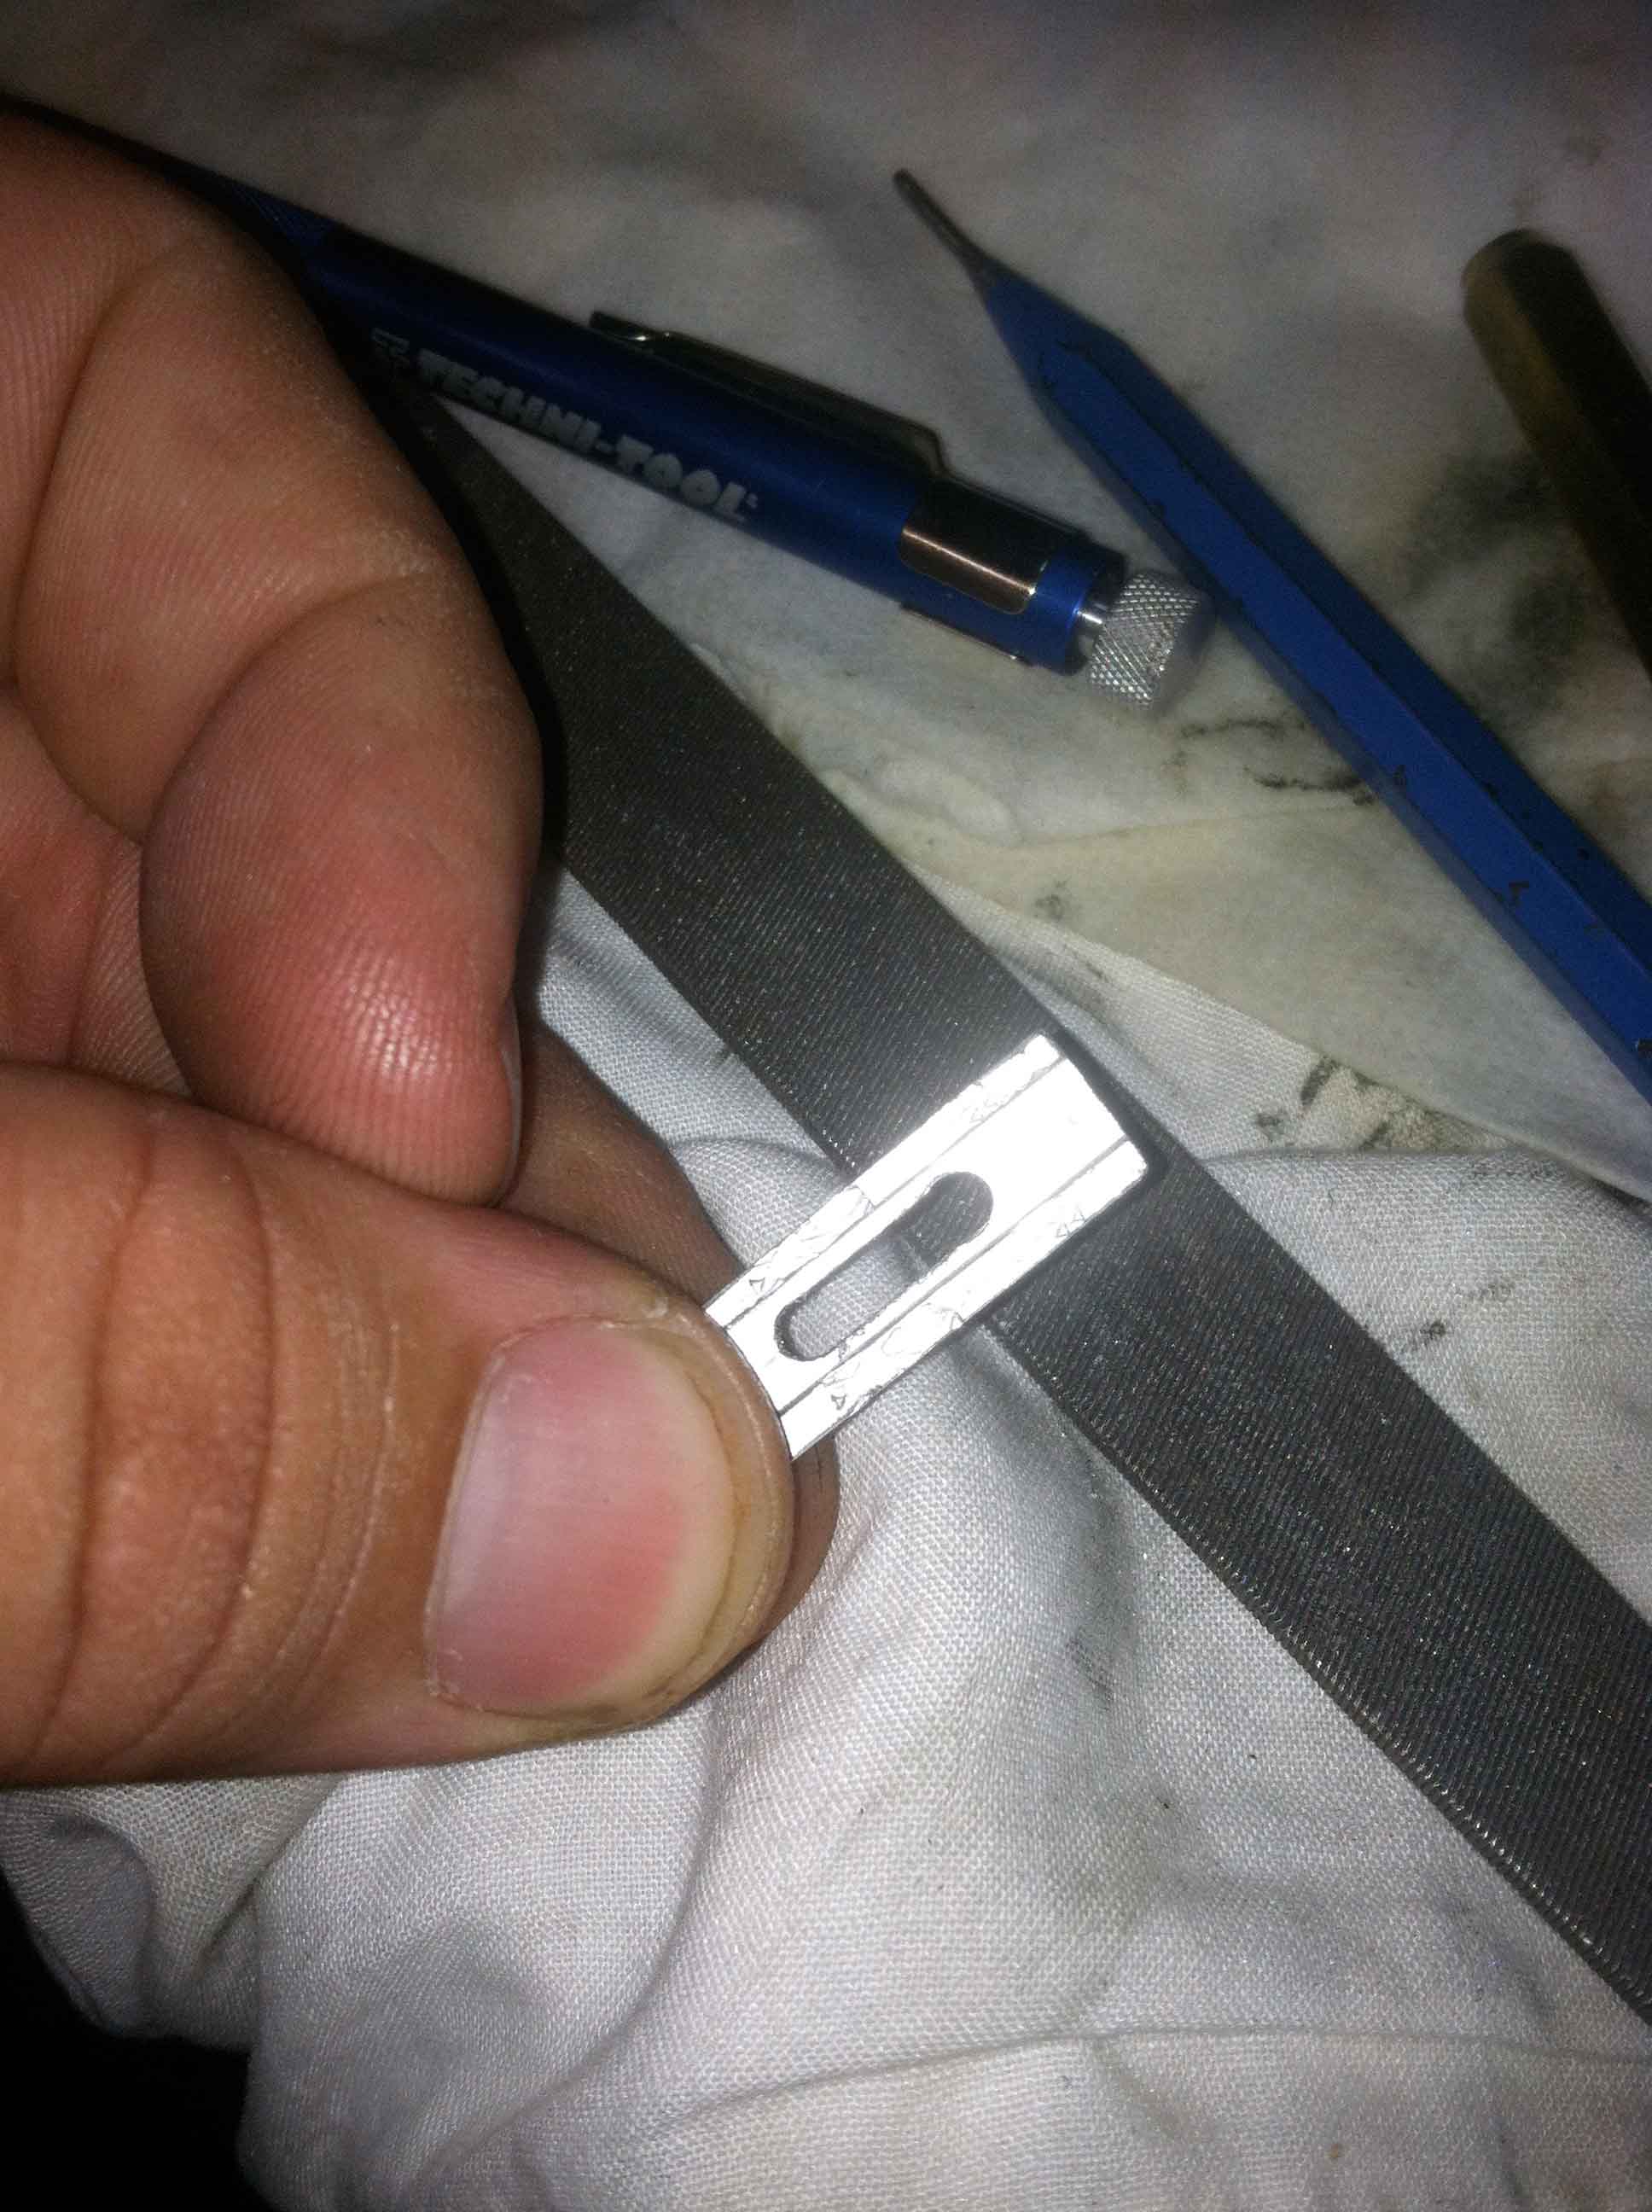
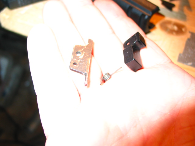
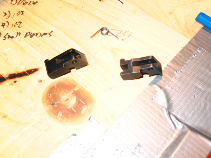
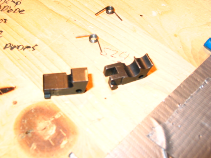
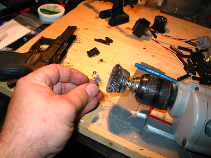
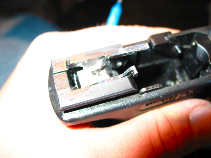
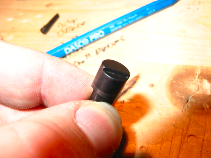
![]() The
replacement Sear, and Sear spring. The Replacement Sear is also black oxided.
The
replacement Sear, and Sear spring. The Replacement Sear is also black oxided.
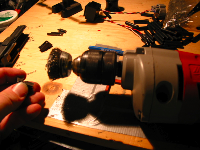
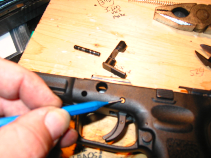
I polished off the
black oxide with a wire brush chucked in a drill.
Then I cleaned the
part with Nitro Cleaner, then Rubbing Alcohol.
Then I started to
Nickel plate the part.

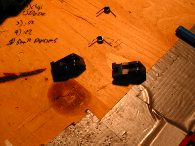
Here is my Plating
Transformer. $30.00 for the kit!!
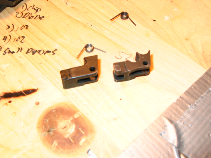
My new Nickel plated
Sear next to the stock one.
I used lot of grease
in reassembly to keep all the parts together, this will make the pistol collect
too much grime when shooting, I will just wipe it off. By the way, the best
firearms grease on the planet is Toilz (http://www.championsbrand.com/hd.html)
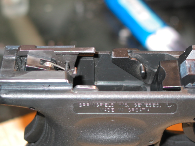
Just a light tap will
push this pin out.
Next just turn the
take down lever all the way clock-wise and push from the back to remove.
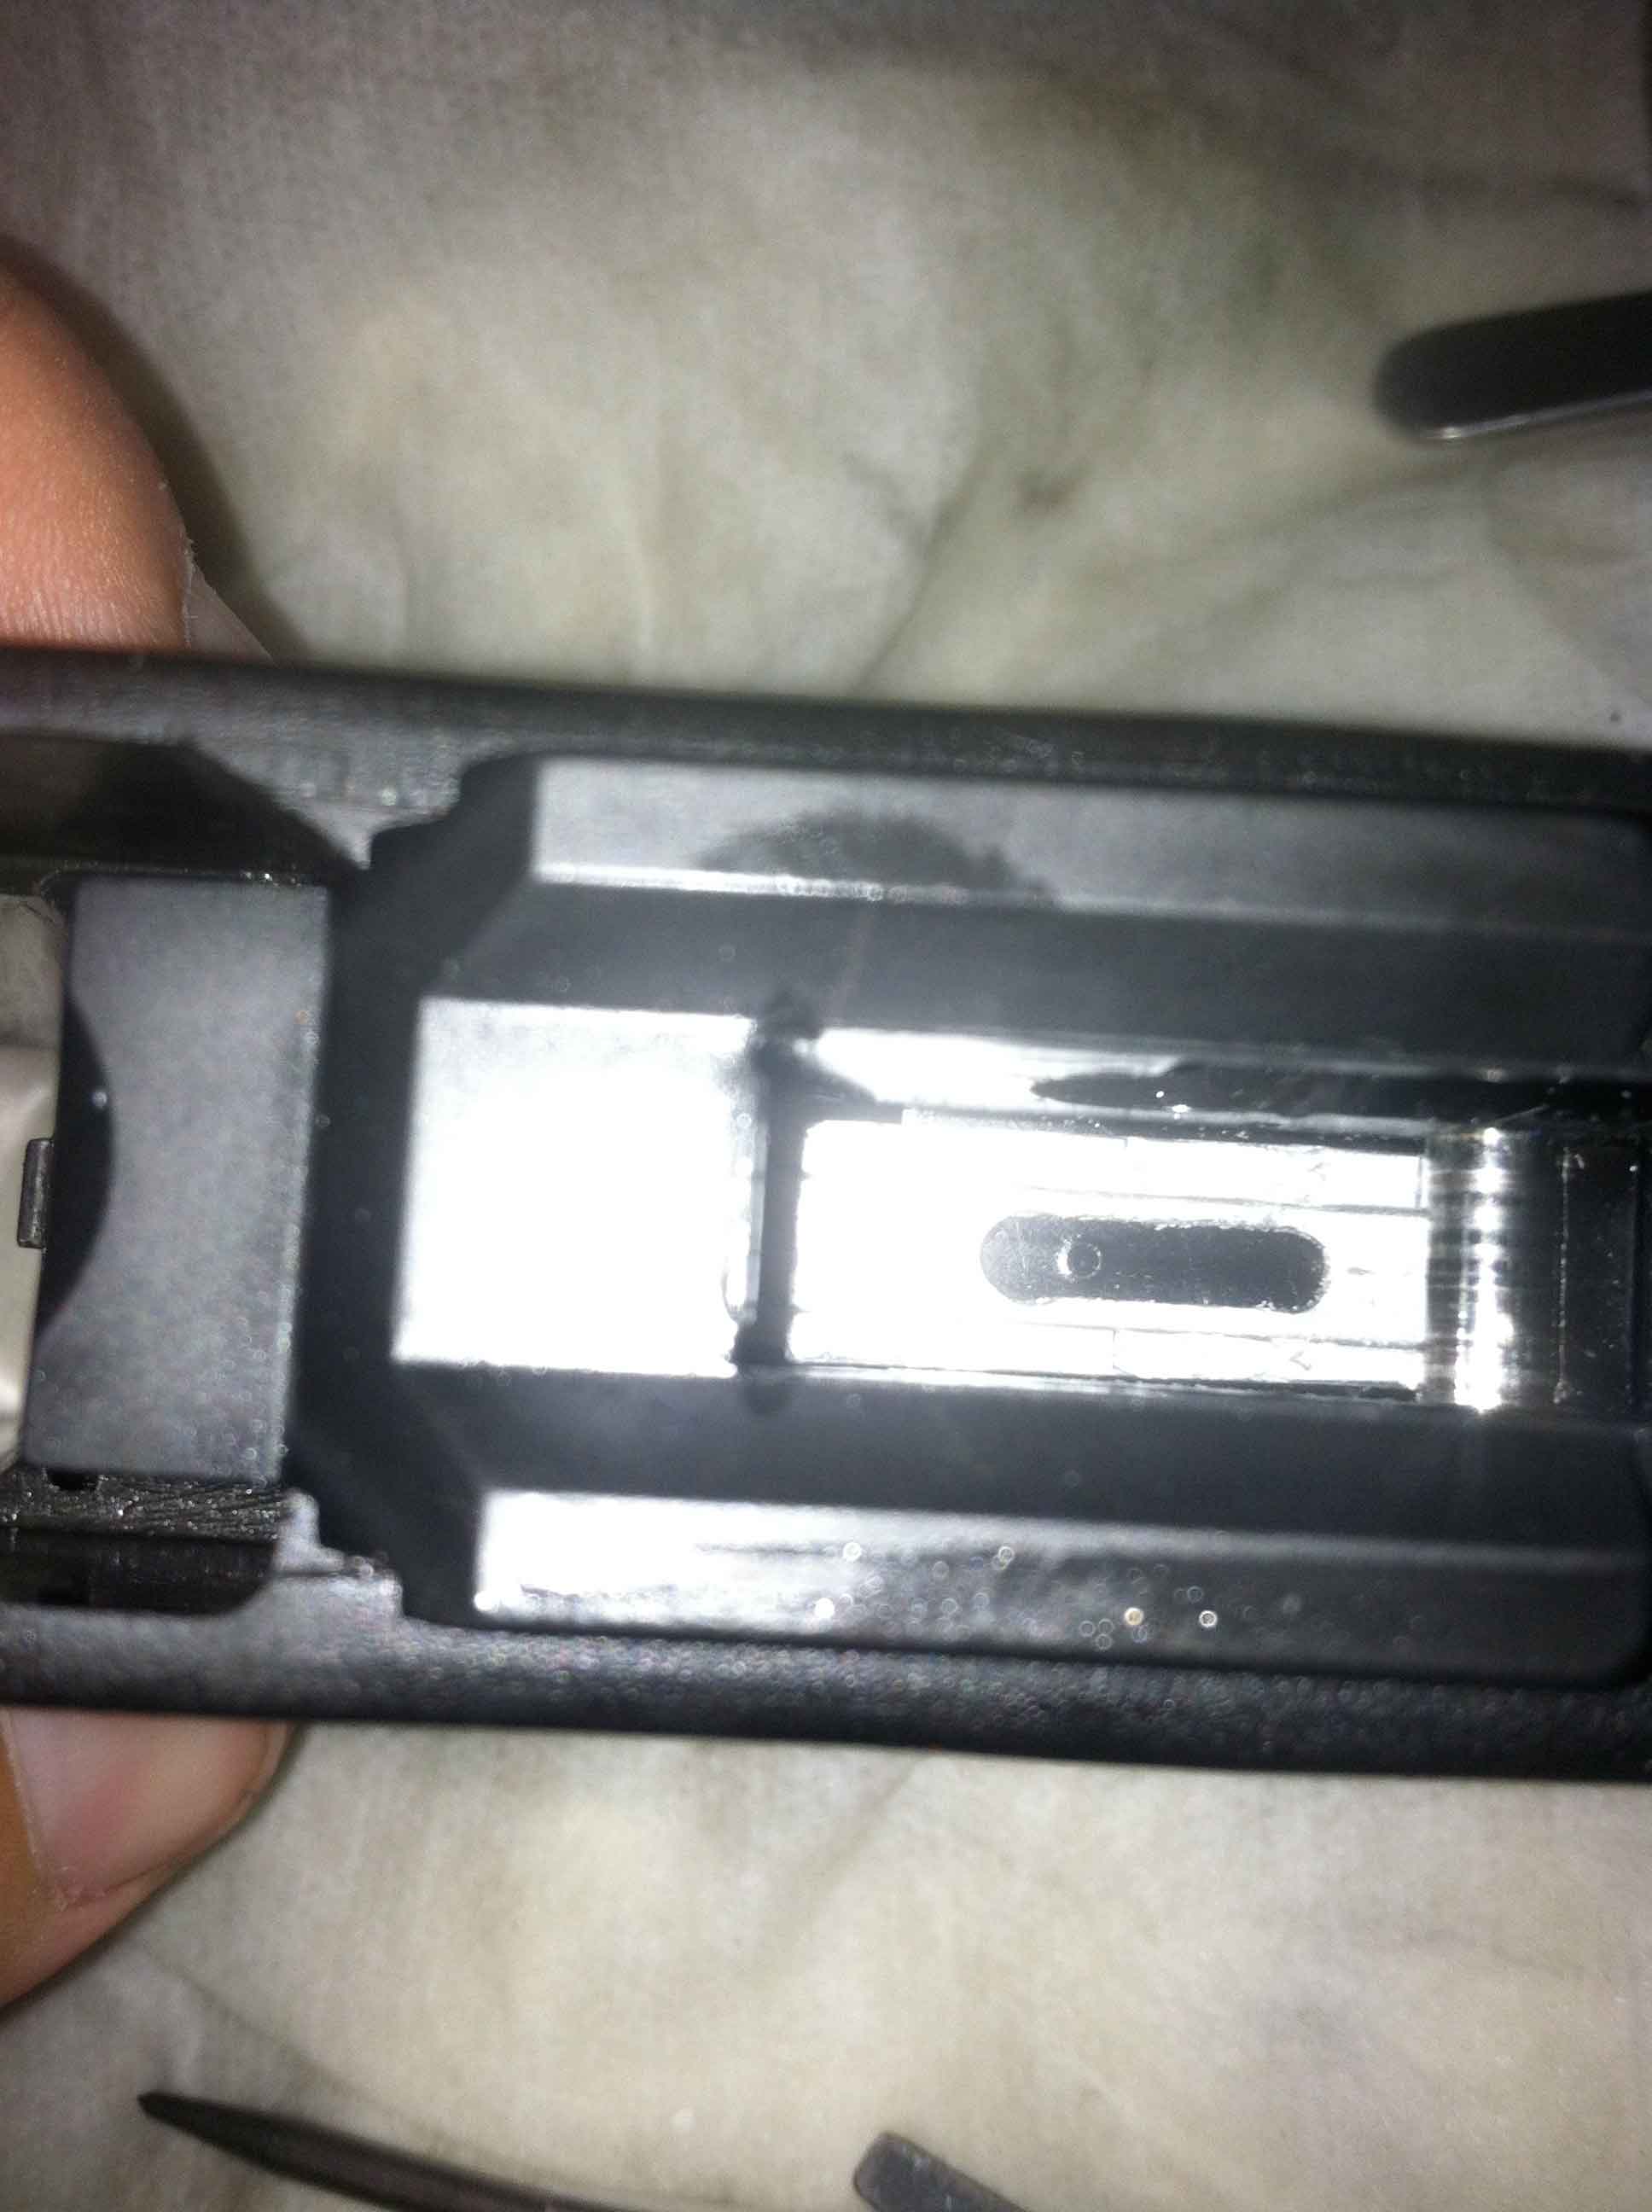
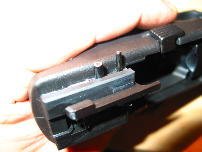
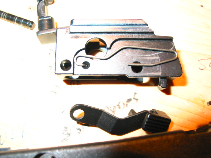
Remove the second pin
You can now remove
the block
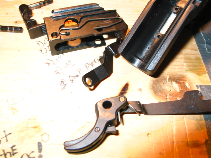
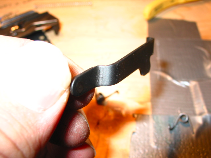
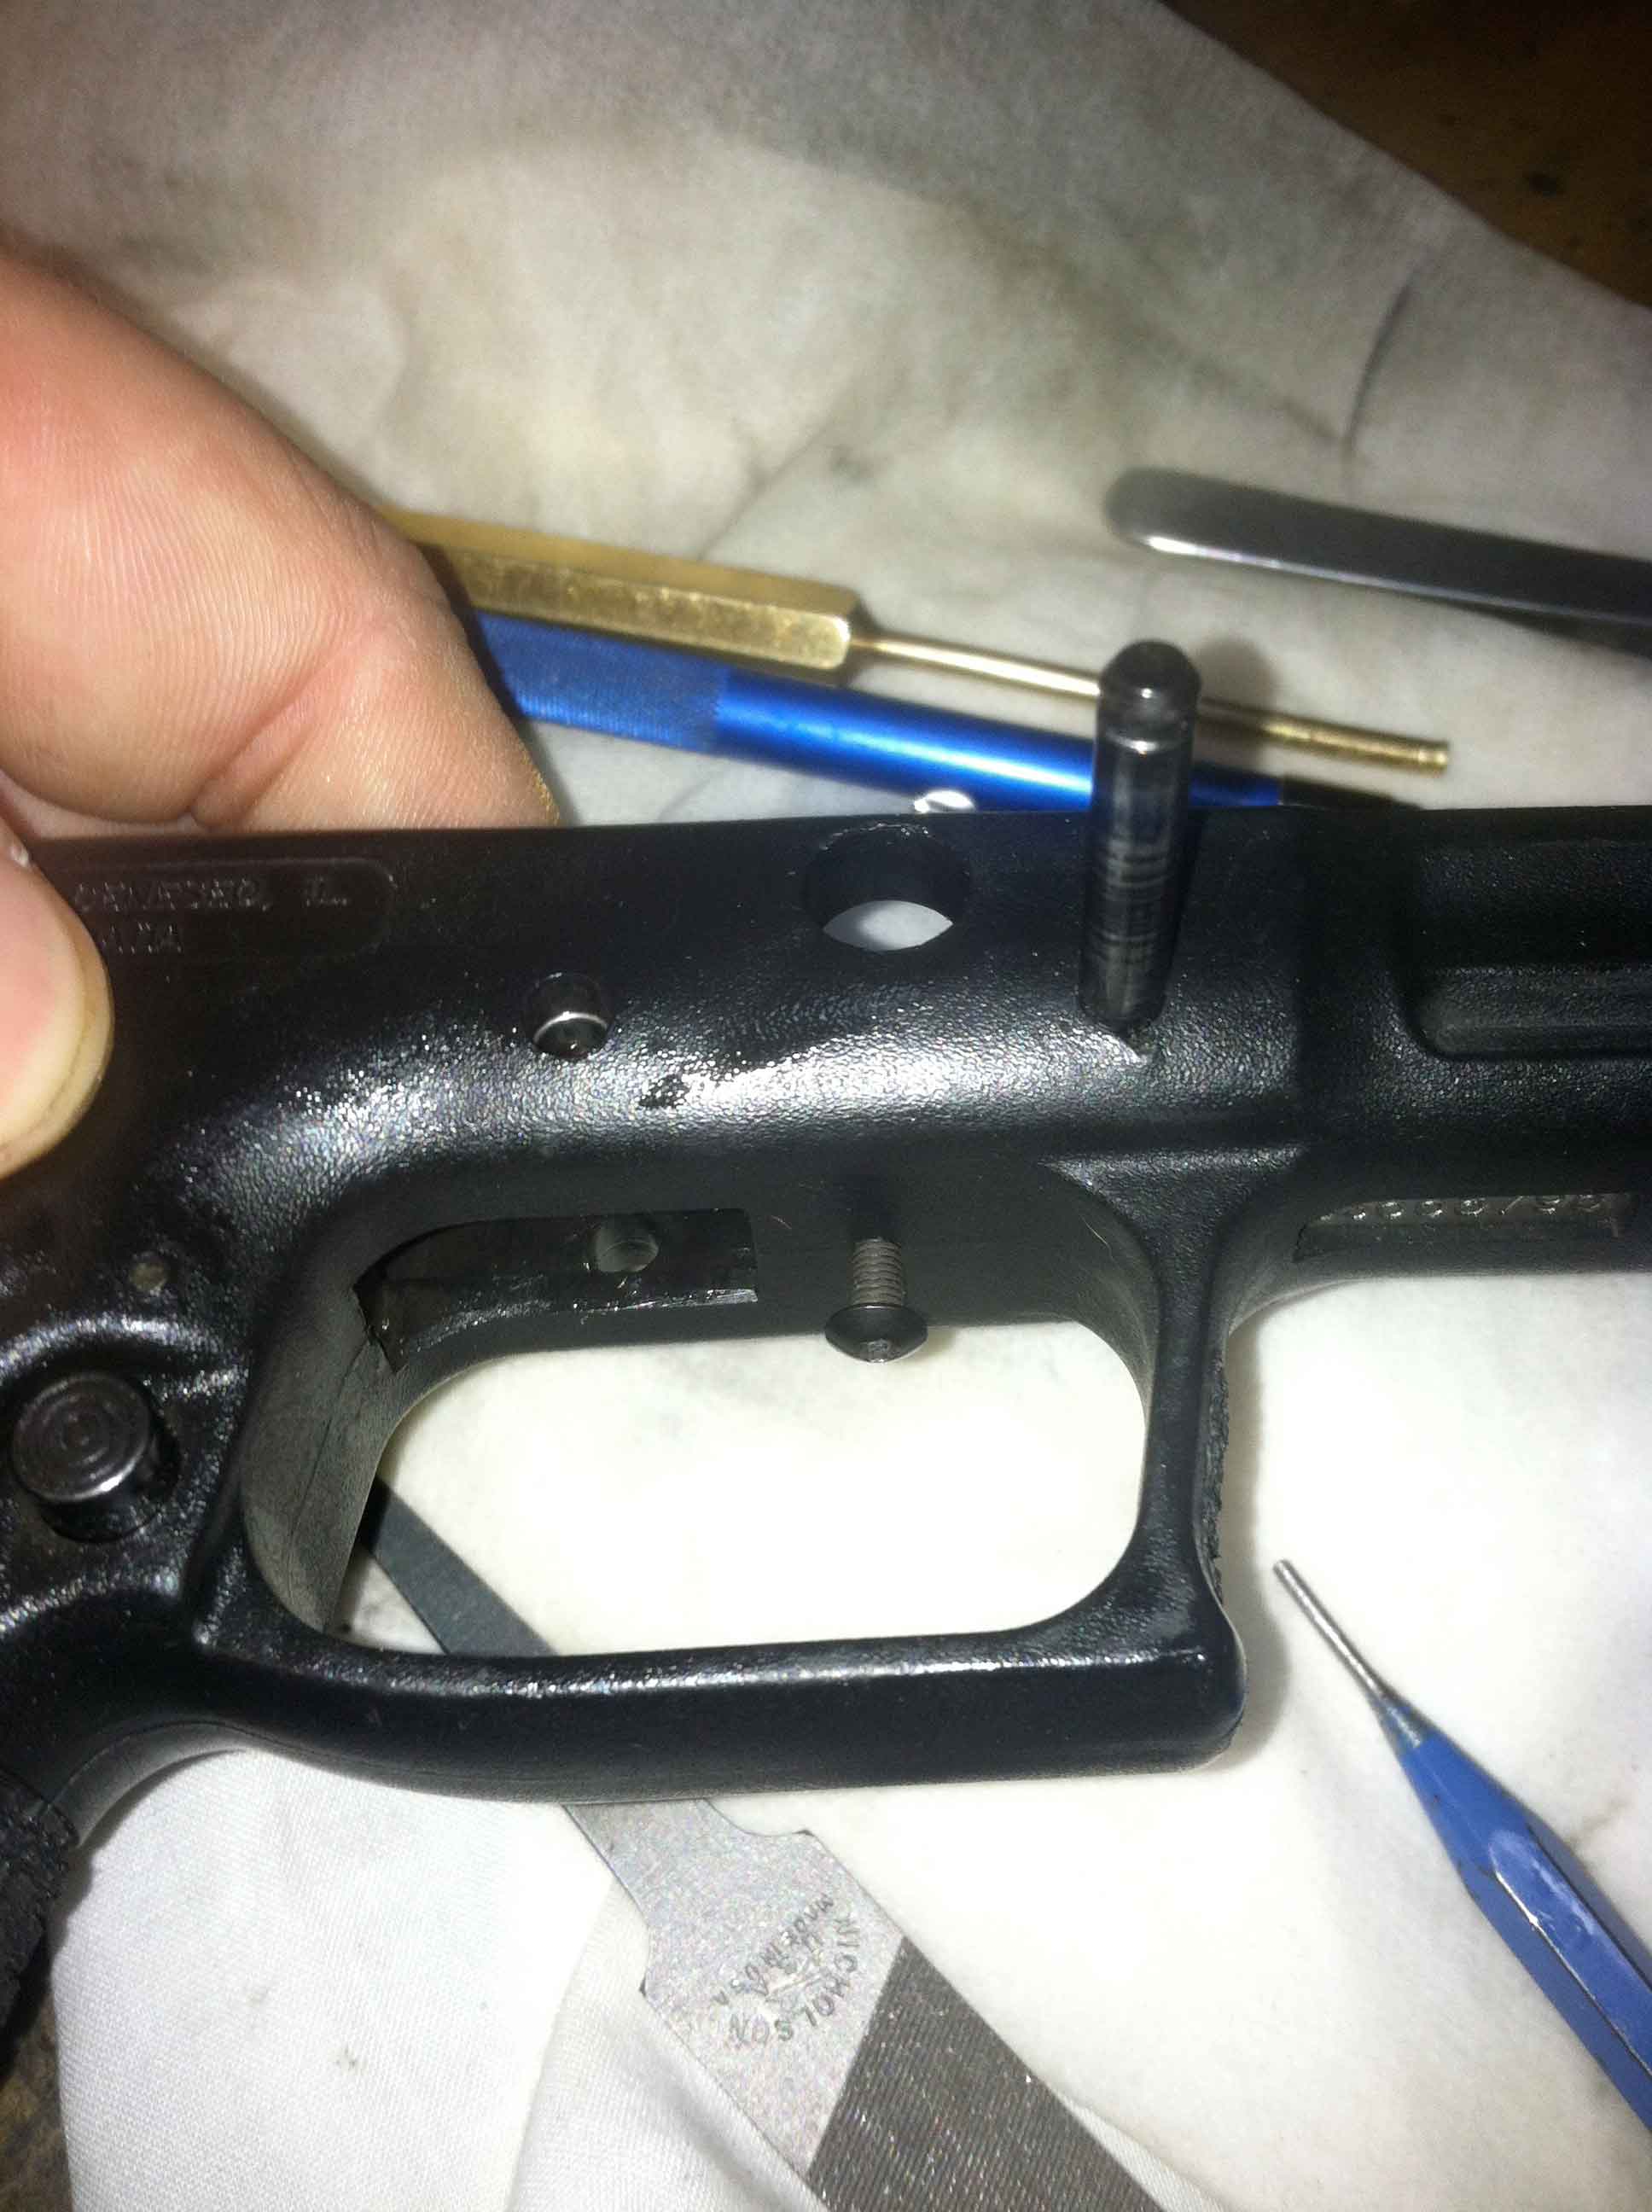
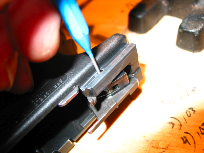
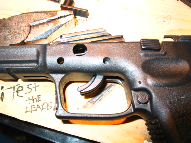
I will drill and tap
a screw in here (in the bent section) eventually, this will reduce the trigger
pull distance.

Since I was in there,
I decided to re-black oxide the worn parts just so they would carry more
lubricant.
I used a carving from
a chopstick to apply the acid for re-black oxiding the wear surfaces of the
parts. It really does not matter; these parts will last forever anyway.
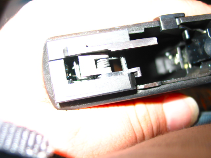
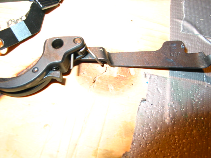
I replaced the spring
and reassembled.
Just drop the Trigger
assembly back in. 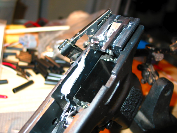
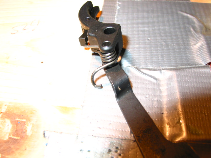
I greased down the
block to keep the spring in place. Remember the slide release lever needs to go
underneath that spring.
It will seem a little
off because the pin is out.
Just make sure it is
seated properly under the block spring.
This is another
example of the ingenious design of the XD. That groove is used leaver the
spring out of the way when reinstalling the takedown lever.

Just press in the
take down lever and twist it to reassemble.

Pressing the pins in
from the left of the gun will make it easer to line everything up. It�s not
hard anyway you do it however. Just go slow.
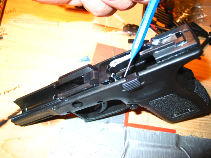
To remove the firing pin spring retaining plate, simply press the plastic indicator guide down and slide the plate out.
Replace the spring
and reinstall the plate.
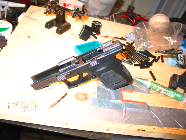
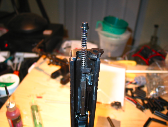
Reassemble and clean
off all the assembly grease.
Back to www.brainlubeonline.com
Back to The Gun Control Article