
Put it all together
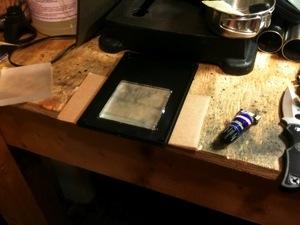
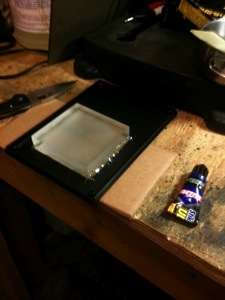
I used Two fogged glass coasters to defuse the light from the ShiftBrite.
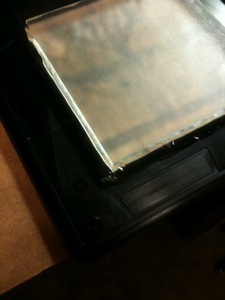
I used this Loctite Ultra-Clear stuff. It’s GREAT. Bonds well, is water clear and slightly flexible.
The Back of the cover, finished.
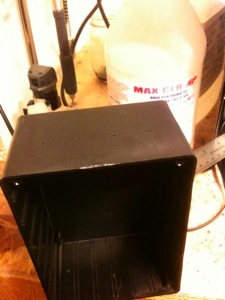
Regular old Radio Shack project enclosure before I measured and cut the holes for the Altarian setting switches.
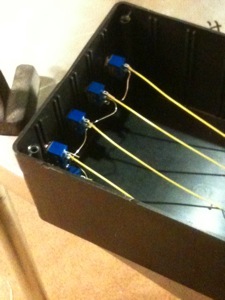
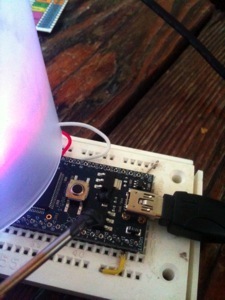
The 4-bit binary setting switches (8,4,2,1), and LOAD button installed. The switches pull 5 pins from the mbed to high. I just used resistors laying around to get about 33k ohms resistance from the 5 volts coming off the USB.
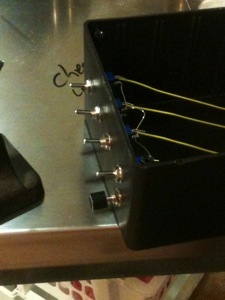
The switches installed.
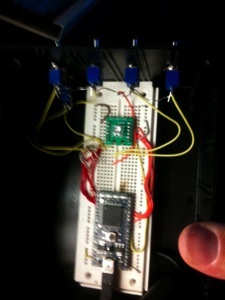
I just double sticked a breadboard to the inside of the project box with the mbed and ShiftBrite.
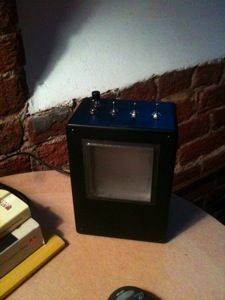
B.L.O. ShiftBrite Clock finished. This images also shows the front of the box where I masking taped the coasters and the box after I installed them and used Black RTV gasket maker to hide any would-be sins from my hand cutting of the square.
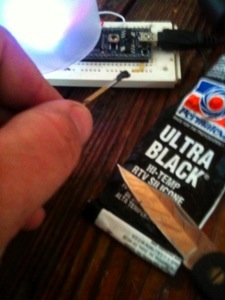
I put a little Permatex ULTRA BLACK on the power light of the mbed to prevent it from biasing the time color.
I chose the Ultra Black because I can always peel it off later if I choose to repurpose the mbed.